Envelope Pillow Cover: A Beginner Sewing Gift with No Zipper
Sew a pillow cover from one front square and two hemmed back rectangles that overlap to form the opening, with cutting sizes for 16, 18 and 20 in forms.
Tutorial at a glance
Materials
- About 1 yd (0.9 m) of medium-weight woven cotton or linen blend, pre-washed
- Matching sewing thread
- Square pillow form
- Fabric scissors
- Pins or clips
- Ruler or tape measure and fabric marker
- Iron
- Sewing machine or hand needle
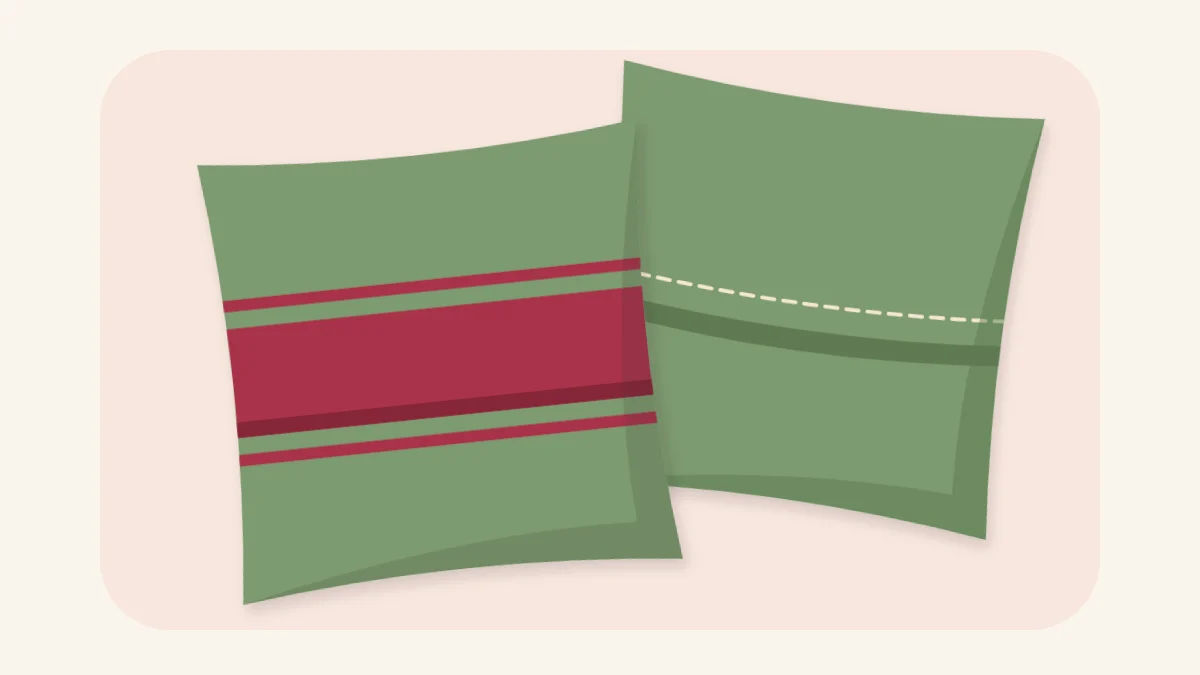
An envelope pillow cover closes with two overlapping flaps of fabric on the back instead of a zipper or buttons. The pillow form slides in through the overlap, and the flaps lie flat over it. Every seam is a straight line, which suits a beginner sewing by machine or by hand.
The cover is made of three pieces: one square for the front and two rectangles for the back. The measurements below are worked out for an 18 in (45 cm) pillow form, with a table for 16 in and 20 in forms.
What You Need
- Medium-weight woven fabric such as quilting cotton, cotton canvas or a linen blend; about 1 yd (0.9 m) of 44 in (112 cm) wide fabric for a 16 in or 18 in form, and a little more for a 20 in form
- Matching sewing thread
- A square pillow form
- Fabric scissors, pins or clips, a ruler or tape measure and a fabric marker
- An iron, used at the setting on the fabric’s care label
- A sewing machine, or a hand needle
Avoid stretchy or very loosely woven fabric for a first cover. It shifts while you sew and the square pulls out of shape.
Watch out
Pre-wash and dry the fabric before cutting, following its care label, then press it flat. Cotton and linen can shrink on the first wash. A cover cut from unwashed fabric may no longer fit its form after it has been laundered once.
The Formula and a Cutting Table
The seam allowance is 1/2 in (1.2 cm) on every seam. That gives a simple formula:
- Front: a square the size of the form plus 1 in (2.5 cm), which is one seam allowance on each side.
- Backs: two rectangles the same height as the front and about two-thirds of its width each.
Each back piece loses 1 in (2.5 cm) to its hem, and the two together are still wider than the front. The surplus is the overlap that keeps the form covered.
| Pillow form | Cut one front | Cut two backs (height x width) | Overlap when finished |
|---|---|---|---|
| 16 in (40 cm) | 17 x 17 in (43 x 43 cm) | 17 x 12 in (43 x 30.5 cm) | About 5 in (12.5 cm) |
| 18 in (45 cm) | 19 x 19 in (48 x 48 cm) | 19 x 13 in (48 x 33 cm) | About 5 in (12.5 cm) |
| 20 in (50 cm) | 21 x 21 in (53 x 53 cm) | 21 x 14 in (53 x 35.5 cm) | About 5 in (12.5 cm) |
For the 18 in form, the two hemmed backs measure 12 in (30.5 cm) wide each, 24 in (61 cm) together, against a front of 19 in (48 cm).
Cut the Pieces and Hem the Backs
- Cut. Mark the front square and the two back rectangles with their edges parallel to the woven edge of the fabric, then cut. Pieces cut at a slant stretch along the seams.
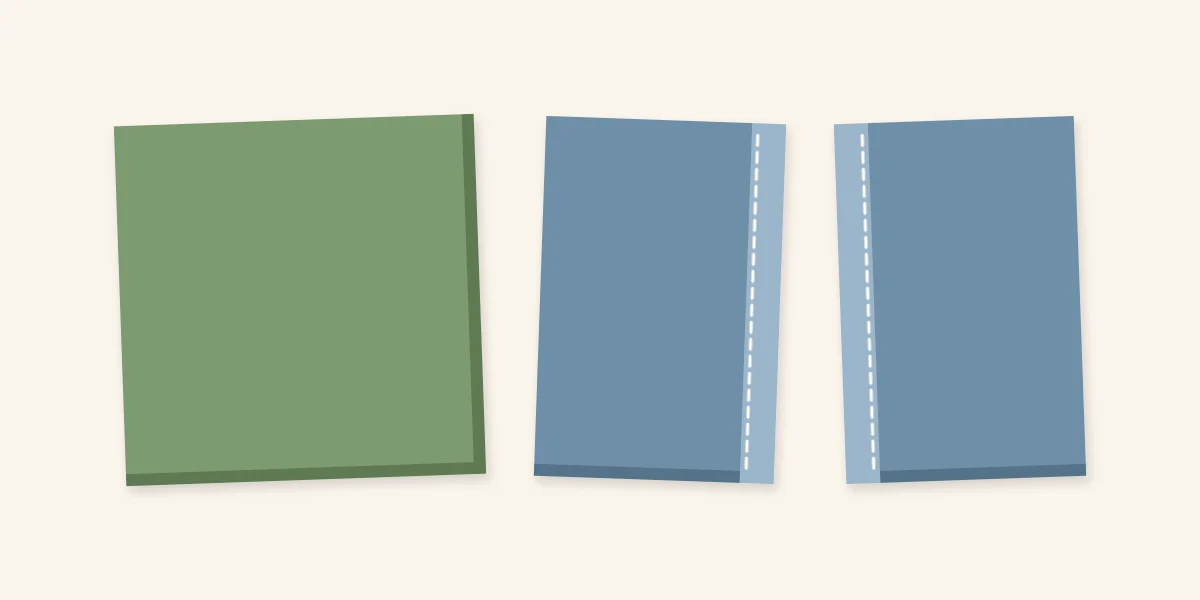
- Press the hems. On each back piece, choose one long edge, which is the edge that matches the height of the front. Fold it 1/2 in (1.2 cm) to the wrong side and press, then fold it another 1/2 in (1.2 cm) and press again. The raw edge is now enclosed.
- Stitch the hems. Sew along each hem close to the inner fold. These hems show on the finished cover, so keep the line straight.
Layer the Pieces and Sew Around
- Lay the front right side up. Smooth it flat on the table.
- Add the first back piece. Place it right side down on the front, with its raw edges matching the left, top and bottom edges of the front and its hemmed edge lying across the middle.
- Add the second back piece. Place it right side down, matching the right, top and bottom edges. Its hemmed edge overlaps the first piece in the center.
- Pin. Pin all the way around the square, with two pins at each place where the hems cross the top and bottom edges, so the layers cannot creep.
- Sew. Stitch around all four sides, 1/2 in (1.2 cm) from the edge, pivoting at each corner with the needle down. There is no turning gap to leave, because the overlap is the opening. Sew back and forth once across each end of the overlap, where the cover takes the most strain.
- Clip the corners. Cut diagonally across each corner, close to the stitching but not through it. This removes the bulk that would otherwise leave the corners rounded and lumpy.
- Turn and press. Turn the cover right side out through the overlap, push each corner out with a blunt tool such as a chopstick, and press.
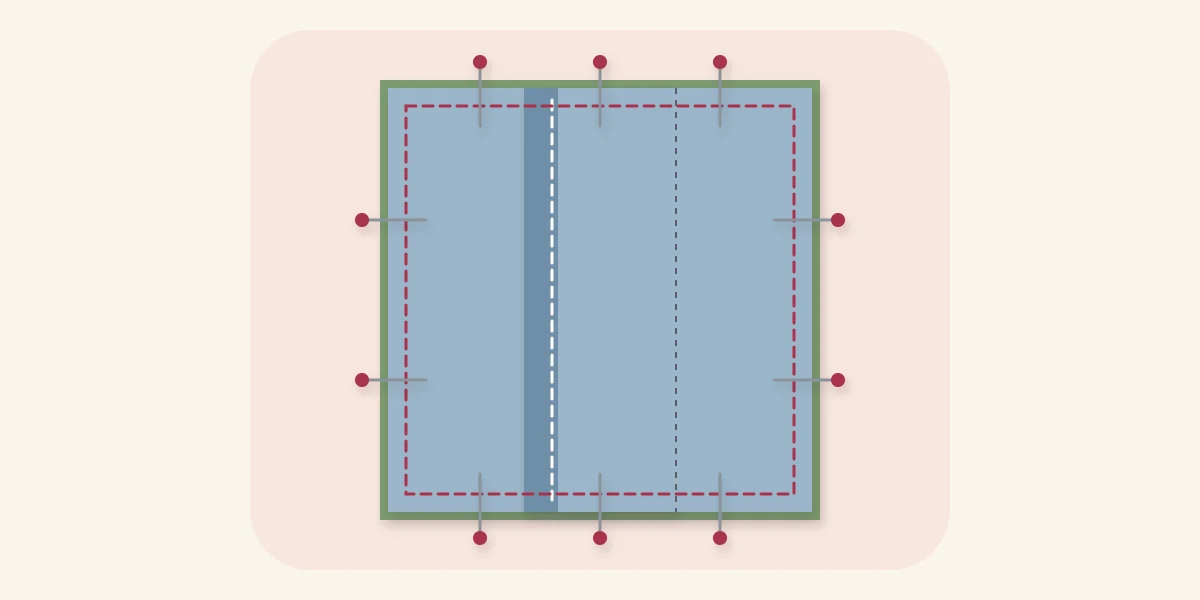
The back piece laid down first ends up on the outside of the finished cover. If one hem is neater than the other, put that piece down first.
Sewing It by Hand
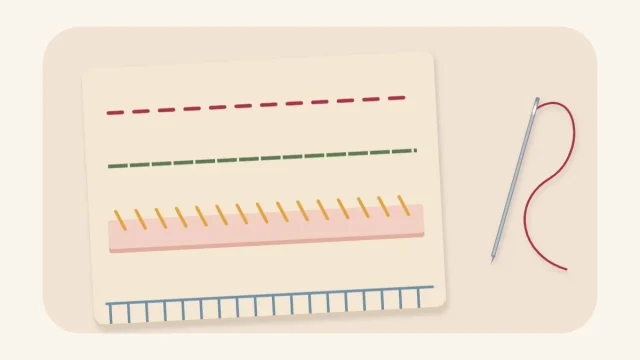
Without a machine, sew the hems with a small running stitch and the outer seam with backstitch, keeping the stitches about 1/8 in (3 mm) long. Backstitch holds a seam that has a pillow form pressing against it, where a running stitch would gape. The stitches are shown in four hand-sewing stitches for handmade gifts.
Common Problems
- The cover looks loose on the form. Soft forms fill a cover less than firm ones. Turn the cover wrong side out and sew a second line around it, 1/4 in (6 mm) inside the first, for a snugger fit.
- The back gapes and shows the form. The overlap is too small, usually because the back pieces were cut too narrow. Check them against the table before hemming.
- The corners are rounded. They were not clipped, or not pushed out fully after turning.
Variations on the Front
A plain front can be decorated before the cover is assembled, while the square still lies flat, using the printing method from stamped tea towels or an initial as on the stenciled monogram tote bag. Set the paint as its label directs before sewing, and keep the design clear of the seams.
Giving It
The cover can be given on its form or folded flat without one. If it is given alone, write the form size on the tag, along with the fabric type and its care label instructions. Folded in thirds, the cover fits a shallow box, or it can be rolled and tied with ribbon. More options are in the guide on how to wrap a handmade gift.
Frequently asked questions
What size do I cut the fabric for an 18 in pillow form?
Cut one front square of 19 x 19 in (48 x 48 cm) and two back rectangles of 19 x 13 in (48 x 33 cm). That allows a 1/2 in (1.2 cm) seam allowance on every side and a hem on each back piece. Once hemmed, the backs overlap by about 5 in (12.5 cm).
How much should the back pieces of an envelope cover overlap?
An overlap of about 5 in (12.5 cm) keeps the form covered on the sizes given here while still leaving room to slide it in. Cutting each back piece at about two-thirds of the front's width produces that overlap. A smaller overlap tends to gape and show the form.
Does the fabric need to be washed before sewing?
Yes, pre-wash and dry it according to its care label, then press it before cutting. Cotton and linen can shrink on the first wash. Washing first means any shrinkage happens before the pieces are cut to size rather than after the cover is finished.