Handmade Seed Packets: A Spring Gift for Gardeners
Fold small paper envelopes from one simple template, fill them with seeds and label each one with the plant name, variety, year and sowing information.
Tutorial at a glance
Materials
- Kraft or sturdy decorative paper
- Pencil and ruler
- Paper scissors
- Bone folder
- Glue stick or craft glue
- Seeds from sealed commercial packets or your own garden
- Small round stickers
- Fine pen
- Twine
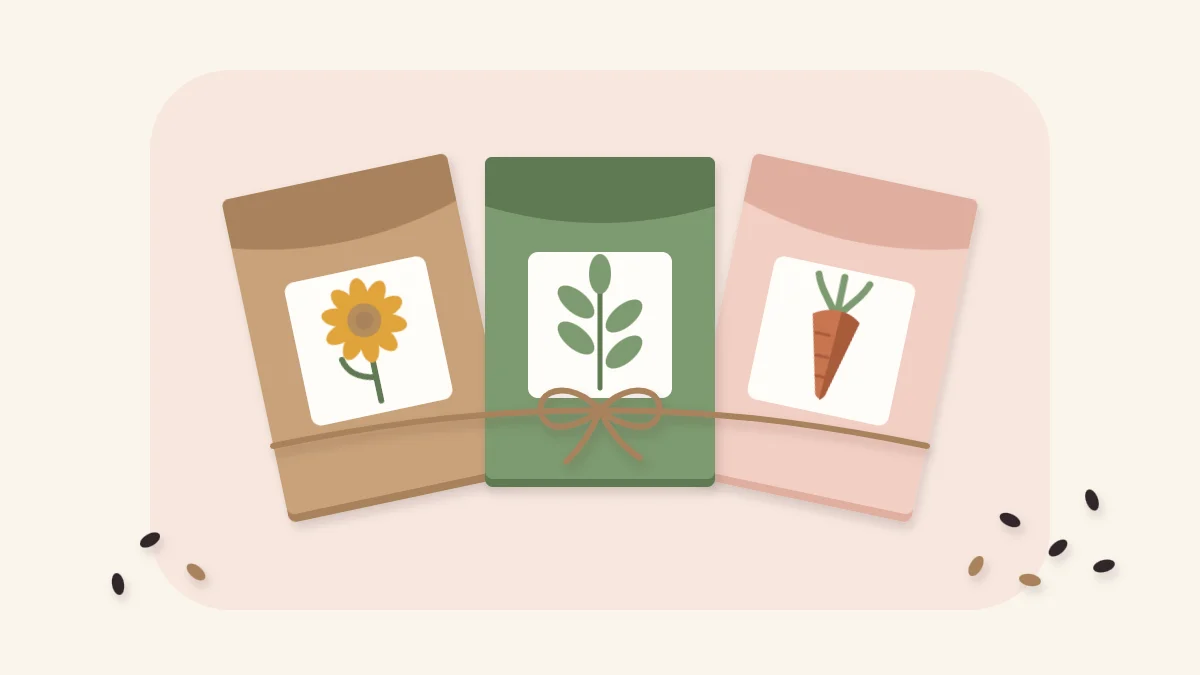
Handmade seed packets are small paper envelopes that you fold, fill with seeds and label by hand. Three of them tied with twine make a compact spring gift that suits someone with a garden bed, a balcony planter or a few pots on a windowsill.
The paper work is simple: one rectangle with two narrow tabs and a top flap, folded once down the middle. The part that deserves the most care is the label. A packet is only useful if it says exactly what is inside and how to sow it, and that information should come from a reliable source rather than from memory.
What You Need
- Kraft paper or sturdy decorative paper, heavier than copy paper but lighter than cardstock
- Pencil, ruler and paper scissors
- Bone folder, or the back of a butter knife, for creasing
- Glue stick or craft glue
- Seeds in sealed commercial packets, or dry seeds saved from your own garden
- A scrap of paper to fold into a scoop
- Small round stickers, a fine pen, and twine for bundling
Thin wrapping paper tears at the folds. The basic kit for paper and fabric projects covers the cutting and creasing tools in more detail.
Packet Sizes
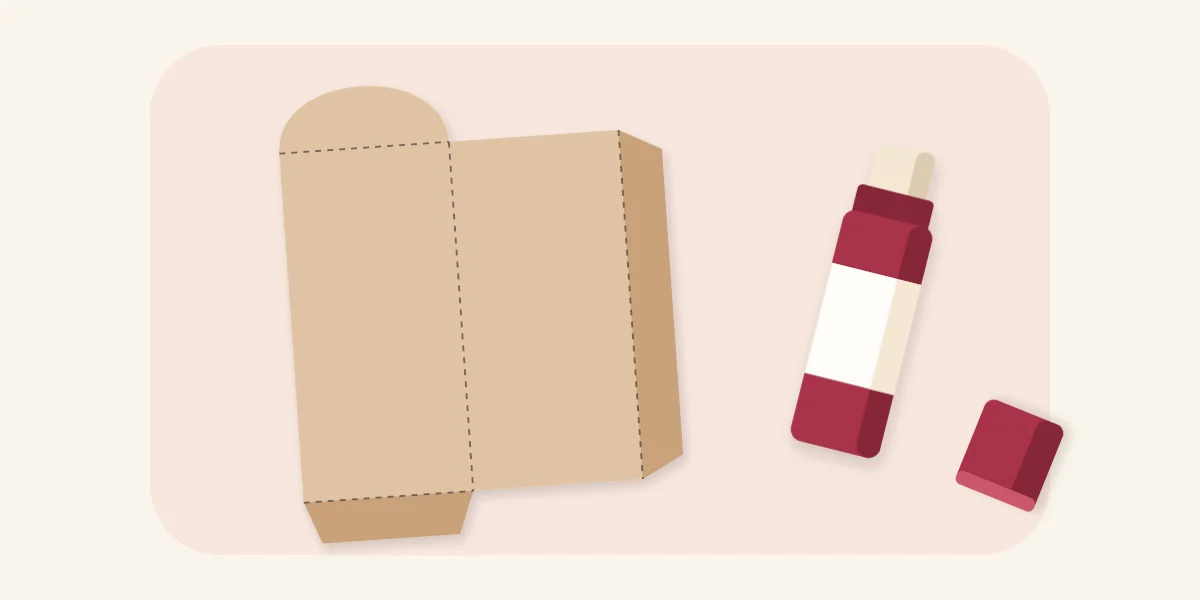
The template is two panels side by side, a 1/2 in (1.2 cm) glue tab on one side and along the bottom, and a 1 in (2.5 cm) flap at the top. So the paper you cut is twice the finished width plus 1/2 in, and the finished height plus 1 1/2 in.
| Packet | Finished size | Paper to cut | Suits |
|---|---|---|---|
| Small | 2 1/2 x 3 1/2 in (6.5 x 9 cm) | 5 1/2 x 5 in (14 x 12.5 cm) | Fine seeds such as lettuce or poppy |
| Standard | 3 x 4 1/2 in (7.5 x 11.5 cm) | 6 1/2 x 6 in (16.5 x 15 cm) | Most flower and herb seeds |
| Large | 3 1/2 x 5 in (9 x 12.5 cm) | 7 1/2 x 6 1/2 in (19 x 16.5 cm) | Beans, peas, sunflower seeds |
Draw, Cut, and Crease the Template
The steps below use the standard size. Draw the first one on plain paper, test that it folds squarely, then trace around it for the rest.
- Cut a rectangle 6 1/2 x 6 in (16.5 x 15 cm), with the longer measurement running side to side.
- Rule a vertical line 1/2 in (1.2 cm) in from the left edge. This strip is the side tab.
- Rule a second vertical line 3 in (7.5 cm) to the right of the first. This is the centre fold. It leaves two panels 3 in wide: the front on the left, next to the side tab, and the back on the right.
- Rule a horizontal line 1/2 in (1.2 cm) up from the bottom edge and another 1 in (2.5 cm) down from the top edge.
- Cut away the paper you do not need: the top strip above the front panel and the side tab, and the bottom strip below the back panel and the side tab. What remains is the two panels, a side tab beside the front, a bottom tab under the front, and a top flap above the back.
- Round the two corners of the top flap, and trim the free corners of both tabs at a slight angle so they tuck in without showing.
- Crease every ruled line with the bone folder against the ruler, then fold: the centre line and both tabs.
Tip
Decorate and label the front panel while the template is still flat. Writing on a filled packet presses the pen into the seeds and gives a bumpy line.
What to Write on the Label
Write the plant’s common name, the variety, and the year the seeds were packed or harvested. Then copy the sowing information from the original commercial packet: sowing depth, spacing, when to sow and whether the plant wants sun or shade. Copy it word for word instead of estimating. For seeds saved from your own garden, say so on the label and write only what you know for certain, such as the parent plant and the year of harvest.
A simple drawing of the flower, leaf or vegetable on the front helps tell packets apart at a glance.
Glue, Fill, and Seal
- Glue the packet. Fold the back panel over the front along the centre fold. Apply glue to the side tab and the bottom tab, fold them over onto the back panel and press firmly, running the bone folder along both seams. Check that the glue reaches the corner where the tabs meet, since that is where fine seeds escape. Let the glue dry as its label directs before filling.
- Pour in the seeds. Fold a scrap of paper in half to make a scoop, tip a small amount of seed into the crease and slide it into the open top. Fill only one variety at a time and close its source packet before opening the next, so varieties do not mix.
- Fold and seal the flap. Fold the top flap down over the front and close it with a small round sticker. A sticker lets the packet be opened and reclosed without tearing the paper.

If Something Goes Wrong
- Seeds leak from a bottom corner. The tabs were not glued to the very end. Run a thin line of glue into the corner from outside and press it, or remake the packet and use the small size for very fine seed.
- The paper buckles. Wet glue was applied too heavily. Use a glue stick, or spread craft glue thinly with a scrap of cardstock.
- Ink smears. Some coated decorative papers resist pens. Test the pen on an offcut, or write on a plain paper label and glue it on.
Watch out
Some countries and regions restrict moving seeds across their borders. Check the local rules at both ends before mailing seed packets. Seed viability also varies with age and storage, so do not promise that every seed will sprout.
Giving the Packets
Stack three packets with the labels facing the same way and tie them with twine, or stand them upright in a small box. Add a handmade cardstock gift tag naming what is in the bundle. Keep the finished packets somewhere cool and dry until they are handed over, away from damp windowsills.
The bundle pairs naturally with a painted terracotta pot for a larger spring gift. For other projects that fit particular times of year, see the guide to handmade gifts by season.
Frequently asked questions
What paper works for handmade seed packets?
Kraft paper or a sturdy decorative paper that is heavier than copy paper and lighter than cardstock folds cleanly and holds a glued seam. Very thin wrapping paper tends to tear at the folds. If a paper feels flimsy, glue it to a plain sheet first and let it dry before cutting.
What should the label on a seed packet say?
Write the common name, the variety and the year the seeds were packed or harvested. Copy sowing depth, spacing and timing word for word from the original commercial packet. For home-saved seed, state that it is home-saved and list only what you know for certain.
Can handmade seed packets be mailed?
Within one country it is usually straightforward, but some countries and regions restrict moving seeds across borders. Check the rules for both the sending and receiving location before mailing. A padded or stiffened envelope helps keep larger seeds from being crushed.