Personalized Gift Tags: Six Handmade Styles from Cardstock
Cut the classic luggage-tag shape from cardstock, reinforce the hole, and finish it six ways: stamped, layered, fabric, watercolor, stitched or with a pressed leaf.

Tutorial at a glance
Materials
- Cardstock in kraft, white or a pale color
- Ruler, pencil and paper scissors
- Single-hole punch
- Paper reinforcement rings
- Twine or narrow ribbon
- Glue stick and a fine-tipped pen
- Optional: letter stamp and ink pad, paper and fabric scraps, watercolor paint, needle and embroidery floss, pressed leaf, clear tape
Personalized gift tags are the smallest paper project on the site and one of the most reusable: a rectangle of cardstock, two clipped corners, a punched hole and a name. Once the basic shape is cut, the same blank can be finished in very different ways depending on what is already in your supply box.
This guide starts with the classic luggage-tag shape, then covers six ways to finish it, and ends with lettering and ties, since a tag only does its job if the name on it is easy to read and spelled correctly.
What You Need
- Cardstock in kraft, white or a pale color
- Ruler, pencil, and paper scissors or a craft knife with a cutting mat
- A single-hole punch
- Paper reinforcement rings, or scraps of cardstock to make your own
- Twine or narrow ribbon
- A glue stick and a fine-tipped pen that does not smear on your cardstock
- Style extras: a letter stamp and ink pad, patterned paper scraps, fabric scraps, watercolor paint and a soft brush, a needle and embroidery floss, a pressed leaf, clear tape
You do not need all of the extras; pick one or two styles that match what you have. The starter kit guide lists the basics and what can be substituted.
Cut the Basic Tag Shape
A tag about 2 x 4 in (5 x 10 cm) is large enough for a name and a short line and small enough to cut many from one sheet. A US Letter sheet of cardstock yields eight tags at this size.
- Cut a rectangle. Rule a 2 x 4 in (5 x 10 cm) rectangle on the cardstock and cut it out.
- Clip two corners. At one short end, measure 1/2 in (1.2 cm) in from each corner along both edges, mark, and cut across diagonally. The two clipped corners give the luggage-tag outline. Keep the first tag as a template and trace around it for the rest.
- Punch and thread. Punch a hole at the top centre, about 3/8 in (1 cm) down from the clipped end. Stick a paper reinforcement ring over the hole, then fold a length of twine in half, push the loop through the hole and pass the tails through the loop.
The hole is the weakest point of a tag, and thin cardstock tears there when the twine is pulled. If you have no ready-made rings, punch a hole in a scrap, cut a small circle around it and glue it over the tag’s hole.

Six Styles at a Glance
| Style | Extra materials | Good to know |
|---|---|---|
| Stamped initial | Letter stamp, ink pad | Test on a scrap; let ink dry before handling |
| Layered paper | Patterned paper scraps, glue stick | Keeps the writing area plain |
| Fabric scrap | Cotton scrap, craft glue | Trim frayed threads after gluing |
| Watercolor wash | Watercolor paint, soft brush | Paint before cutting to limit curling |
| Stitched border | Needle, embroidery floss | Pierce the holes first |
| Pressed leaf | Flat dried leaf, clear tape | Leaf must be fully dry and flat |
Four Flat Styles: Stamp, Layers, Fabric and Watercolor
Stamped initial
Ink a single letter stamp evenly, press it straight down near the top or centre of the tag, and lift without rocking. One large initial leaves room below for the full name in pen.
Layered paper
Cut a strip of patterned paper the width of the tag and about 1 in (2.5 cm) tall and glue it across the bottom. The upper half stays blank for writing.
Fabric scrap
Glue a small rectangle or heart of quilting cotton to the lower half with a thin, even layer of craft glue. Too much glue soaks through and darkens the fabric, so test on a scrap first. Leftovers from a cotton drawstring gift bag make a tag that matches the wrapping.
Watercolor wash
Brush a loose band of diluted color across the cardstock and let it fade toward one end. Wet paper curls, so paint a larger piece, let it dry flat as the paint label advises, press it under a book, and cut the tags afterward.
Two Textured Styles: Stitched Border and Pressed Leaf
Stitched-paper border
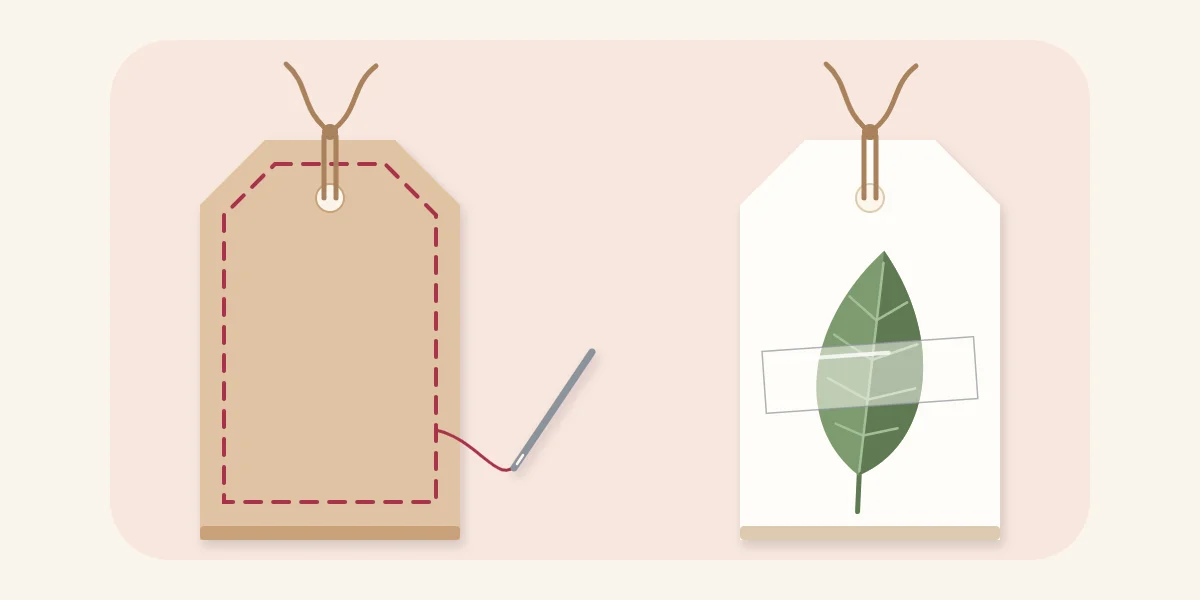
Draw a faint pencil line about 1/4 in (6 mm) inside the tag’s edge. Lay the tag on a folded towel or a piece of thick felt and pierce holes along the line with a needle, about 1/4 in (6 mm) apart. Pre-piercing matters because pushing a threaded needle through unpierced cardstock bends and creases it. Then sew a running stitch through the holes with two strands of embroidery floss, in and out around the border. Tape the thread ends flat on the back instead of knotting them. The hand-sewing stitch guide shows the running stitch in detail.
Pressed leaf under clear tape
Choose a small leaf that has been pressed flat between book pages until it is fully dry. Lay it on the tag and cover it with a single strip of clear tape wider than the leaf, smoothing from the centre outward to push out air. Trim the tape flush with the tag edges.
Writing the Name and Choosing a Tie
Rule one or two faint pencil guidelines, write the name in pencil first, then go over it in pen and erase the pencil when the ink is dry. Plain, upright capitals or careful lowercase print are easier to read than an imitation script.
Watch out
Check the spelling of every name against a reliable source before inking it, including accents, hyphens and double letters. Cut a few spare blanks so a slip does not mean redoing the decoration.
Twine grips itself and holds a knot. Ribbon is slippery, so tie a double knot and choose a width that passes through the punched hole without bunching. Cut ties about 10 in (25 cm) long.
If Something Goes Wrong
- The hole tears. Glue a reinforcement ring on both sides and punch slightly farther from the edge on the next tag.
- The tag curls. Moisture from paint or glue caused it. Press the dry tag under a heavy book.
- Stitches pull through the paper. The holes are too close to the edge or the thread is too tight. Move the line inward and ease the tension.
Using and Giving the Tags
A tag can be tied to a parcel or given as a set of blanks: stack six or eight and wrap a paper band around the middle. Tags also carry practical information: the back has room for what the item is made of and how to care for it, as described in the guide on wrapping a handmade gift with a care note.
Frequently asked questions
What size should a handmade gift tag be?
About 2 x 4 in (5 x 10 cm) is a practical size: there is room for a name and a short line, and eight tags fit on one US Letter sheet of cardstock. For small parcels, halve both measurements and use thinner twine. Keep the hole about 3/8 in (1 cm) from the top edge at either size.
How do you stop the hole in a gift tag from tearing?
Stick a paper reinforcement ring over the hole, or glue on a small punched circle of cardstock. Placing the hole a little farther from the edge also helps, as does using cardstock rather than thin paper. For heavy parcels, reinforce both sides of the tag.
Can you sew through cardstock by hand?
Yes, if the holes are pierced first. Lay the tag on a folded towel or thick felt and push a needle through along a pencil line at even spacing, then sew a running stitch through those holes. Sewing without pre-piercing bends and creases the paper.