How to Sew a Drawstring Gift Bag from Cotton Fabric
Sew a cotton drawstring bag from one folded rectangle: two side seams with casing gaps, a folded channel at the top and a cord threaded with a safety pin, in three sizes.
Tutorial at a glance
Materials
- Quilting cotton, pre-washed and pressed
- Matching sewing thread
- Cord, narrow ribbon or cotton twill tape
- Safety pin
- Fabric scissors
- Pins or clips
- Ruler and fabric marker
- Iron
- Sewing machine or hand needle
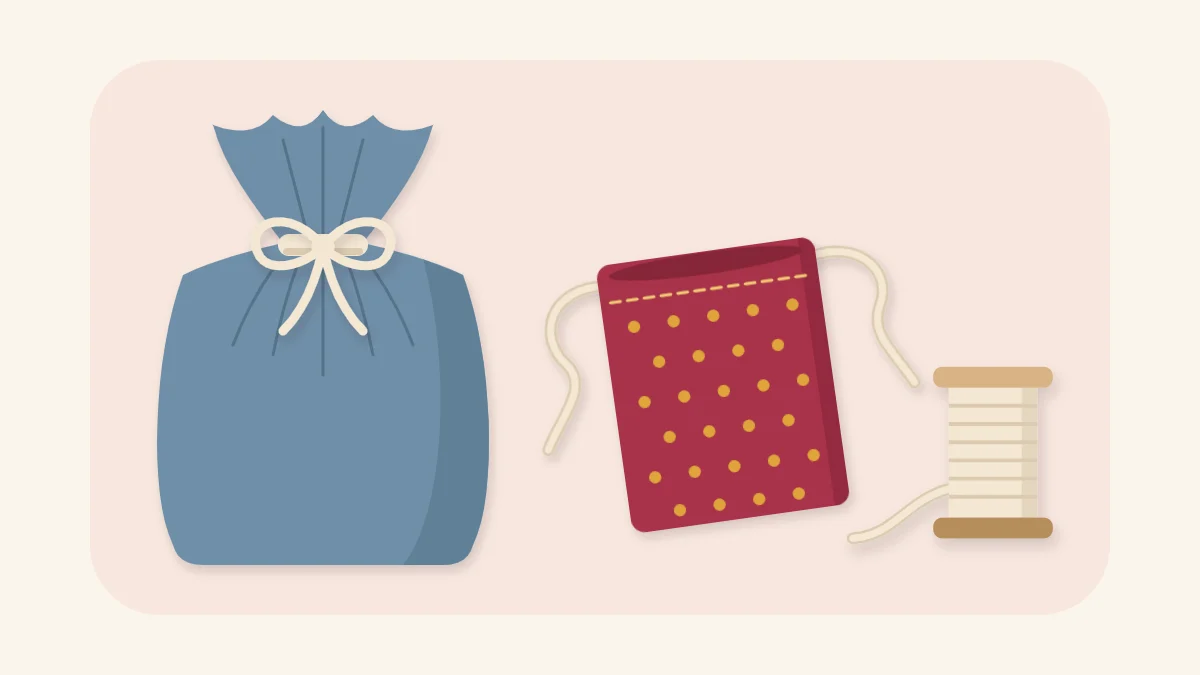
To sew a drawstring gift bag you need one rectangle of cotton fabric, two straight side seams and a folded channel at the top for the cord. There are no curves, no lining and no closures to fit, and the bag works as reusable wrapping: it can be kept and used again for storage or for the next gift.
The instructions use a single rectangle folded in half, so the bottom of the bag is a fold rather than a seam.
What You Need
- Quilting cotton or another light, firmly woven cotton, pre-washed and pressed
- Matching sewing thread
- Cord, narrow ribbon or cotton twill tape for the drawstring
- A safety pin
- Fabric scissors, pins or clips, a ruler and a fabric marker or pencil
- An iron, used at the setting on the fabric’s care label
- A sewing machine, or a hand needle
Pre-wash the fabric the way the finished bag is likely to be laundered, following its care label. Cotton can shrink on its first wash, and a bag that shrinks after it is sewn puckers along the seams.
Cutting Sizes for Three Bags
The seam allowance is 1/2 in (1.2 cm) throughout. The casing uses 1 1/2 in (4 cm) at each end of the rectangle. So the cut width is the finished width plus 1 in (2.5 cm), and the cut length is twice the finished height plus 3 in (7.5 cm).
| Bag | Finished size (width x height) | Cut one rectangle | Cord for a single drawstring |
|---|---|---|---|
| Small | 5 x 7 in (12.5 x 18 cm) | 6 x 17 in (15 x 43 cm) | 20 in (50 cm) |
| Medium | 8 x 10 in (20 x 25 cm) | 9 x 23 in (23 x 58 cm) | 26 in (66 cm) |
| Large | 11 x 14 in (28 x 35.5 cm) | 12 x 31 in (30.5 x 79 cm) | 32 in (81 cm) |
The finished height includes the casing, so choose a bag a little taller than the gift to leave room for the gathers. If the print has a clear top and bottom, cut two rectangles instead of one, each the cut width by the finished height plus 2 in (5 cm), and sew across the bottom as well as the sides.
Sew the Side Seams and Leave the Casing Gaps
- Fold. Fold the rectangle in half with right sides together, bringing the two short edges level at the top. Pin both sides.
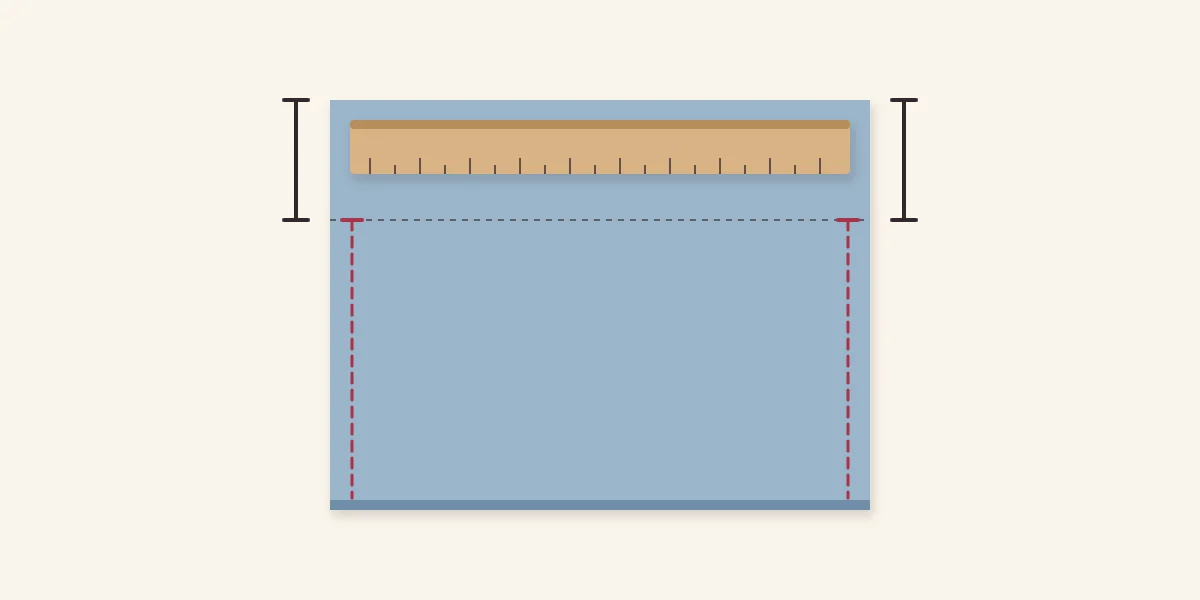
- Mark the gaps. On each side, make a mark 2 1/2 in (6.5 cm) below the top raw edge. The seam stops at this mark. The unsewn part above it becomes the opening where the cord enters the casing.
- Sew. Stitch each side from the mark down to the fold, 1/2 in (1.2 cm) from the edge. Backstitch at the mark, because pulling the cord strains this point every time the bag is closed.
- Press the seams open. Press both seam allowances flat and apart, continuing the fold up through the unsewn section to the top edge. This gives the gaps neat folded edges instead of raw ones.
- Secure the gap edges. Stitch the folded allowances down on each side of the gap, close to the fold, in a narrow V or U shape around the end of the seam. This keeps them from fraying or catching the safety pin later.
Make the Casing and Thread the Cord
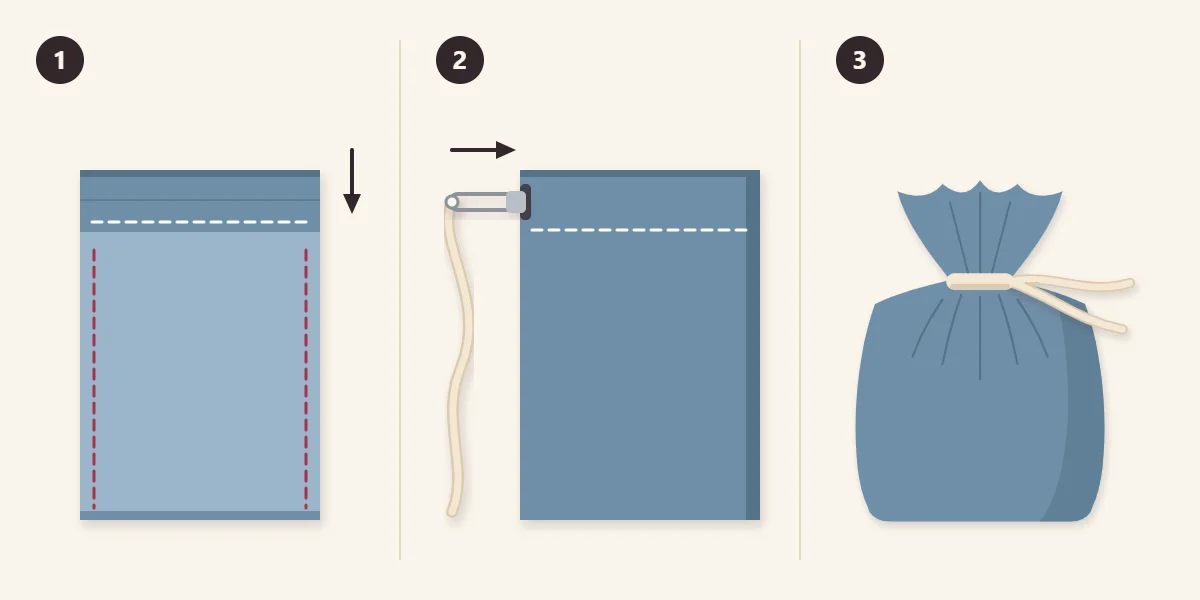
- Fold and stitch the casing. With the bag still wrong side out, fold the top edge down 1/2 in (1.2 cm) to the wrong side and press, then fold it down again by 1 in (2.5 cm) and press. The lower fold should sit level with the end of the side seams. Stitch all the way around, close to that lower fold.
- Thread the cord. Turn the bag right side out. Fasten the safety pin through one end of the cord, push it into one side opening and work it through the channel, all the way around the bag, until it comes out of the same opening.
- Pull and knot. Even up the two cord ends, knot them together and pull to gather the top closed.
Tip
Choose a safety pin that is narrower than the casing but long enough to grip through the fabric. Close it before it goes in. A pin that opens inside the channel is hard to get out without unpicking stitches.
Single or Double Drawstring
A single drawstring enters and leaves through one opening and gathers the bag to one side. It is enough for small bags and light contents, and the second opening goes unused.
A double drawstring uses both openings and closes more tightly. Cut two cords of the length in the table. Thread the first as above and knot its ends. Thread the second the same way starting from the opposite opening. Pulling the two knots apart closes the bag evenly from both sides, which suits the large size.
Sewing It by Hand
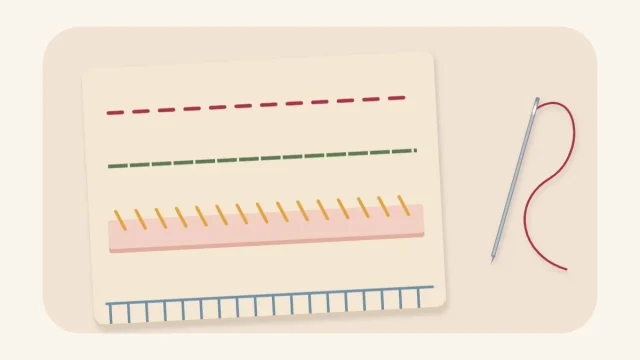
The bag can be sewn entirely by hand. Use backstitch for the side seams, with stitches about 1/8 in (3 mm) long, since it forms a continuous line that does not open up under strain. The casing can be sewn with backstitch or a small, even running stitch, because it carries less load. Thread length, knots and how to finish a seam securely are covered in four hand-sewing stitches for handmade gifts.
If Something Goes Wrong
- The cord will not pass the side seams. The seam allowances inside the casing were not pressed open and stitched down, so the pin catches on them. Work the pin past with your fingers, and secure the allowances on the next bag.
- The casing is too tight. The stitching wandered away from the lower fold and narrowed the channel. Restitch closer to the fold, or switch to a thinner cord.
- There is a hole below the casing. The seam stopped too low. Close the extra opening with a few backstitches.
Giving It
Used as wrapping, the bag suits soft or awkwardly shaped items that are hard to wrap in paper. The small size fits a pair of lavender sachets or a few felt pieces; the large size holds a folded scarf or a tea towel. Tie the tag to the cord rather than pinning it to the fabric. For flat or boxed items a paper gift bag may be the better fit, and the guide on how to wrap a handmade gift explains what to put on a care note.
Frequently asked questions
How much fabric does a drawstring gift bag need?
Cut one rectangle as wide as the finished bag plus 1 in (2.5 cm) and as long as twice the finished height plus 3 in (7.5 cm). A medium bag of 8 x 10 in (20 x 25 cm) needs a 9 x 23 in (23 x 58 cm) piece. The extra covers a 1/2 in (1.2 cm) seam allowance and the casing at each end.
Why leave a gap at the top of the side seams?
The gap is the opening through which the cord enters and leaves the casing. Each side seam stops 2 1/2 in (6.5 cm) below the top raw edge, which is the amount the casing folds use. Once the top is folded down and stitched, the open section sits on the casing only.
Can a drawstring bag be sewn without a machine?
Yes. Sew the side seams in backstitch with stitches about 1/8 in (3 mm) long, because backstitch makes a continuous line that holds under strain. The casing carries less load and can be sewn in backstitch or a small running stitch.