Pocket Tissue Holder: A Quick Fabric Gift from Two Rectangles
Sew a fabric sleeve for a travel pack of tissues from an outer rectangle and a slightly longer lining, with a contrast band along the center opening.
Tutorial at a glance
Materials
- Outer fabric, about 6 x 7 in (15 x 18 cm)
- Lining fabric, about 6 x 8 in (15 x 20 cm)
- Matching sewing thread
- Fabric scissors
- Pins or clips
- Ruler
- Iron
- Sewing machine or hand needle
- Travel pack of tissues to check the fit
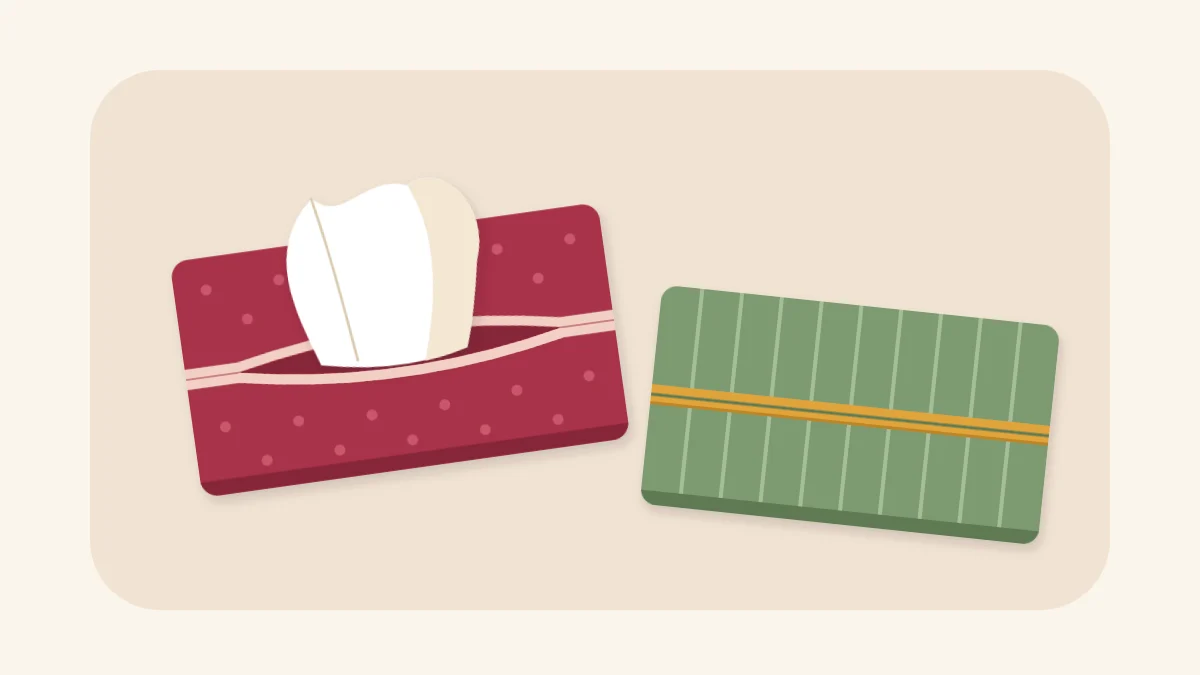
A pocket tissue holder is a small fabric sleeve that covers a travel pack of tissues, with a slit across the middle where the tissues pull out. It is sewn from two rectangles, one for the outside and one for the lining, with four short straight seams and no closures. Because the pieces are so small, it is a good use for leftover fabric from larger projects.
The lining is cut a little longer than the outer fabric. That extra length rolls around to the front and shows as a narrow contrast band along both edges of the opening, so the holder looks trimmed without any separate binding.
What You Need
- Outer fabric: a piece of quilting cotton about 6 x 7 in (15 x 18 cm)
- Lining fabric: a piece of quilting cotton about 6 x 8 in (15 x 20 cm), in a contrasting color
- Matching sewing thread
- Fabric scissors, pins or clips and a ruler
- An iron, used at the setting on the fabric’s care label
- A sewing machine, or a hand needle
- A travel pack of tissues to check the fit
Pre-wash and press the fabric before cutting if it has not been washed already. Scraps left from a set of fabric coasters are about the right size, and two prints from the same project make an outer and lining that go together.
Sizes and How to Adjust Them
The seam allowance is 1/4 in (6 mm) on every seam. Each rectangle has two short ends, 6 in (15 cm) long, and two long sides.
| Stage | Size |
|---|---|
| Outer rectangle, cut | 6 x 7 in (15 x 18 cm) |
| Lining rectangle, cut | 6 x 8 in (15 x 20 cm) |
| Joined and pressed flat | 6 x 7 in (15 x 18 cm), with a 1/4 in (6 mm) lining band at each end |
| Ends folded to the center | 6 x 3 1/2 in (15 x 9 cm) |
| Finished holder | About 5 1/2 x 3 1/2 in (14 x 9 cm) |
These sizes suit a common travel pack of roughly 4 1/4 x 2 x 1 in (11 x 5 x 2.5 cm), but packs differ, so measure yours before cutting. For another pack, cut both pieces as wide as the pack’s length plus its thickness plus 3/4 in (2 cm). Cut the outer piece as long as the distance around the pack the short way plus 3/4 in (2 cm), and the lining 1 in (2.5 cm) longer than that.
Join the Outer and Lining at the Short Ends
- Sew the first end. Lay the outer rectangle on the lining with right sides together, matching one pair of short ends. Pin and sew across that end.
- Sew the second end. Slide the outer piece along until its other short end meets the other short end of the lining. The lining is longer, so it will bow up; that is expected. Pin and sew across.
The two long sides stay open. You now have a tube of fabric that is wrong side out.
Press, Fold to the Center and Sew the Sides
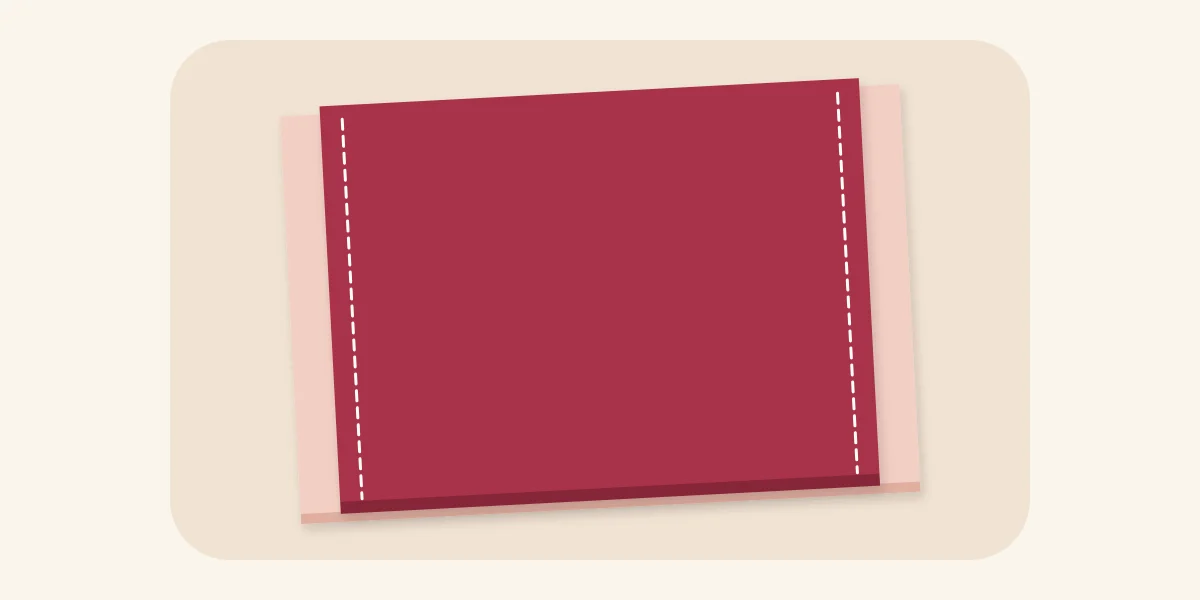
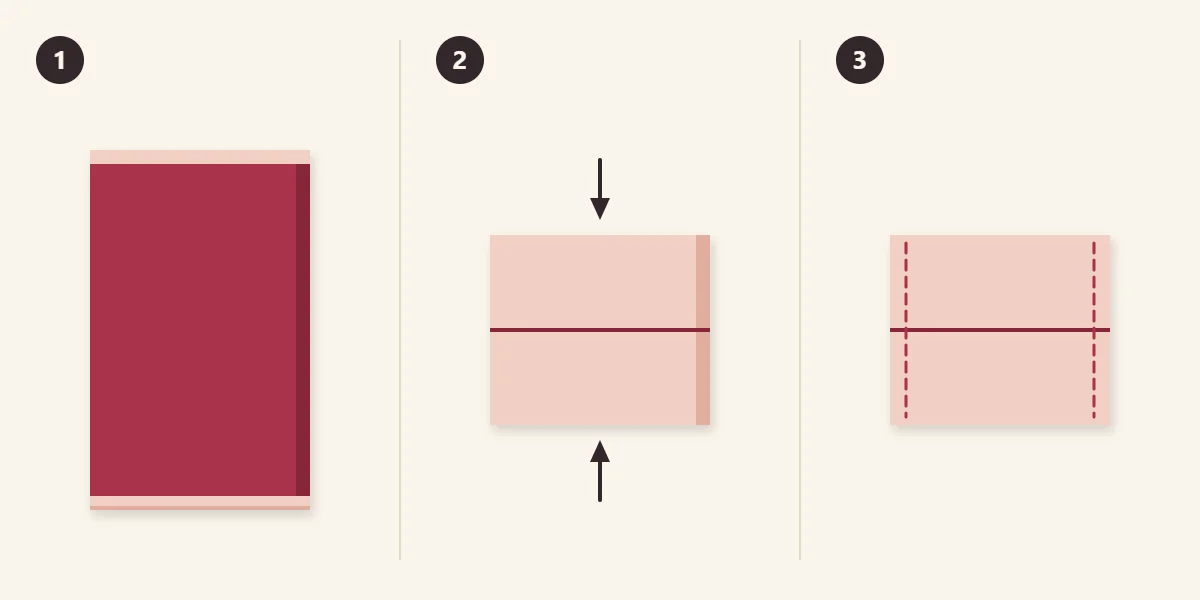
- Turn and press the tube. Turn the tube right side out through an open side. Lay it flat with the outer fabric facing up and adjust it until the same amount of lining shows at each end, about 1/4 in (6 mm). Press. The seam allowances will lie toward the outer fabric, behind the band.
- Fold both ends to the center. Keep the outer fabric facing up. Find the center by folding the piece in half end to end and pinching a light crease. Fold each banded end in so the two meet exactly at that crease without overlapping. The lining is now on the outside. Pin or clip the two open sides.
- Sew the two sides. Stitch down each open side, backstitching at the start and finish and again where the two bands meet at the center. That center point is pulled every time a tissue comes out.
To finish, trim the four corners diagonally, close to the stitching without cutting it, so they turn out sharp. Turn the holder right side out through the center slit, push the corners out with a blunt tool such as a chopstick, and press. Slide the tissue pack in through the slit, with the pack’s own opening facing the slit.
Tip
The side seams leave raw edges inside the holder. They are hidden, but quilting cotton frays with handling. Before turning, sew a zigzag stitch over each raw edge by machine, or whipstitch over it by hand, to keep loose threads from working their way out through the slit.
Sewing It by Hand
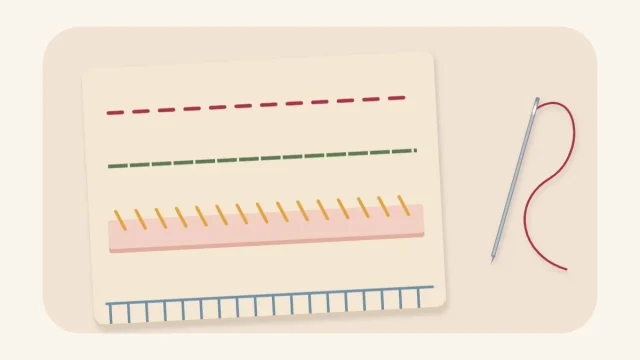
All four seams are short enough to sew by hand. Use backstitch with small stitches, about 1/8 in (3 mm) long, so the seams do not gape when the holder is filled. The side seams pass through four layers of fabric, and more where the bands meet, so use a sharp needle and take one stitch at a time there rather than loading several onto the needle. Backstitch and whipstitch are both explained in four hand-sewing stitches for handmade gifts.
If Something Goes Wrong
- The slit gapes open. The ends were folded short of the center. Unpick the side seams, refold so the bands touch, and sew again.
- The bands overlap and the tissues are hard to pull out. The ends were folded past the center, or the holder is too small for the pack. Check the pack against the sizing notes above.
- The lining band is wider at one end. The tube shifted before pressing. Measure the band at both ends and press again before folding.
- The corners are lumpy. They were not trimmed before turning.
Giving It
Give the holder with a tissue pack already inside, so its purpose and size are clear, and name the fabric on the tag along with its care label instructions. It suits someone who carries a bag or keeps tissues in a car or a desk drawer. The holder is flat enough to slip into a card envelope, and it fits the small size of the drawstring gift bag together with one or two other small sewn items. Wrapping and labeling options are covered in the guide on how to wrap a handmade gift.
Frequently asked questions
What size fabric do I need for a pocket tissue holder?
For a common travel pack, cut the outer fabric about 6 x 7 in (15 x 18 cm) and the lining about 6 x 8 in (15 x 20 cm), with a 1/4 in (6 mm) seam allowance. Travel packs differ in size, so measure the pack you plan to use and adjust both pieces before cutting.
Why is the lining cut longer than the outer fabric?
When the two pieces are joined at the short ends and pressed flat, the extra lining rolls to the front and shows as a narrow band at each end. Those ends become the edges of the center opening, so the holder gets a contrast trim without separate binding.
Can this be sewn by hand?
Yes. The four seams are short, and backstitch with stitches about 1/8 in (3 mm) long holds them well. The side seams go through several layers of fabric, so use a sharp needle and take one stitch at a time.