Felt Needle Book: A Handmade Gift for Someone Who Sews
Three felt rectangles, one line of backstitch and a button make a folded case for needles and pins. Cutting sizes, spine stitching and a button-loop closure.
Tutorial at a glance
Materials
- Thick craft felt for the cover, 4 x 6 in (10 x 15 cm)
- Thinner felt in one or two colors for the pages
- Six-strand embroidery floss or strong thread
- Sharp hand-sewing needle
- One flat button, about 5/8 in (1.5 cm)
- Thin round elastic or extra floss for the loop
- Ruler, chalk pencil, fabric scissors and pins or clips
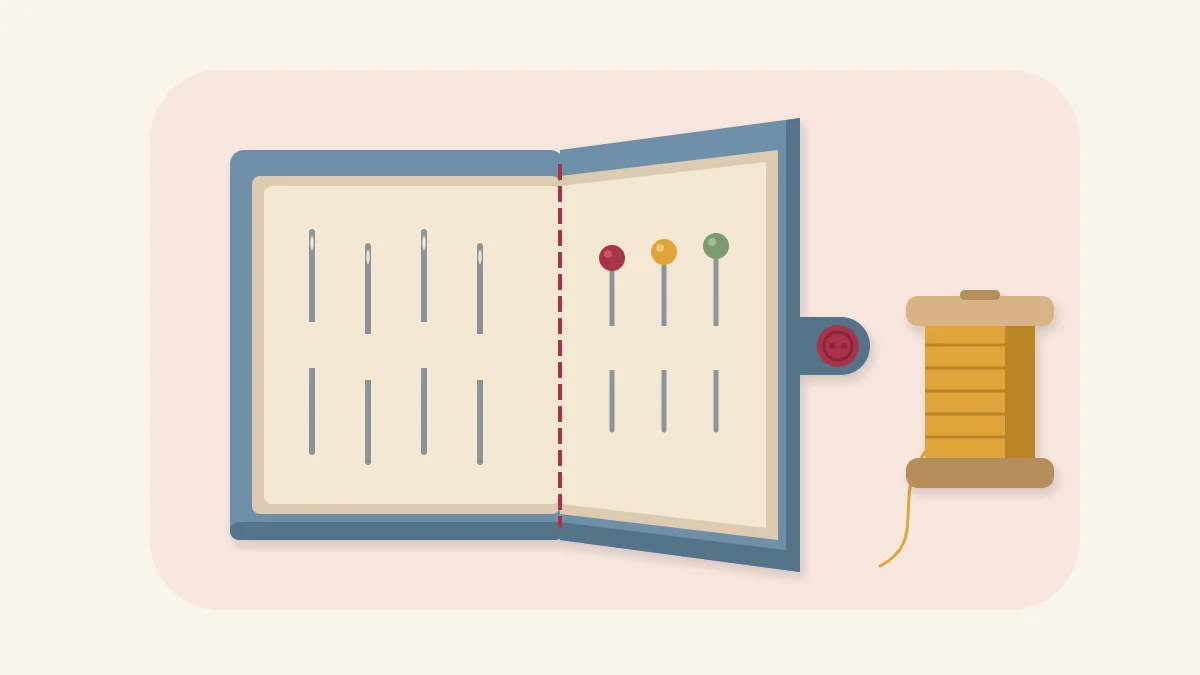
A felt needle book is a small folded case with soft felt pages that hold hand-sewing needles and pins. It keeps sharps in one place, stops them from rolling to the bottom of a sewing box, and folds flat enough to slip into a project bag. As a handmade gift it suits someone who sews, mends or embroiders, and it uses nothing more than three pieces of felt, a button and a length of thread.
You cut a cover and two pages, stack them, and stitch one line down the middle. Felt does not fray, so no edge needs hemming and there is no seam allowance to work out.
What You Need
- Thick craft felt or wool-blend felt for the cover, one piece at least 4 x 6 in (10 x 15 cm)
- Thinner felt in one or two other colors for the pages
- Six-strand embroidery floss or strong sewing thread, plus a sharp hand needle with an eye large enough for it
- One flat button, about 5/8 in (1.5 cm) across
- A short piece of thin round elastic, or extra floss, for the loop
- Ruler, chalk pencil or disappearing fabric marker, sharp fabric scissors, and two or three pins or clips
Stiffer felt makes a better cover because it holds the book shape. Softer felt is better for the pages because a needle slides through it easily. The guide to basic supplies for paper and fabric projects explains which scissors and needles are worth having first.
Cut the Cover and the Pages
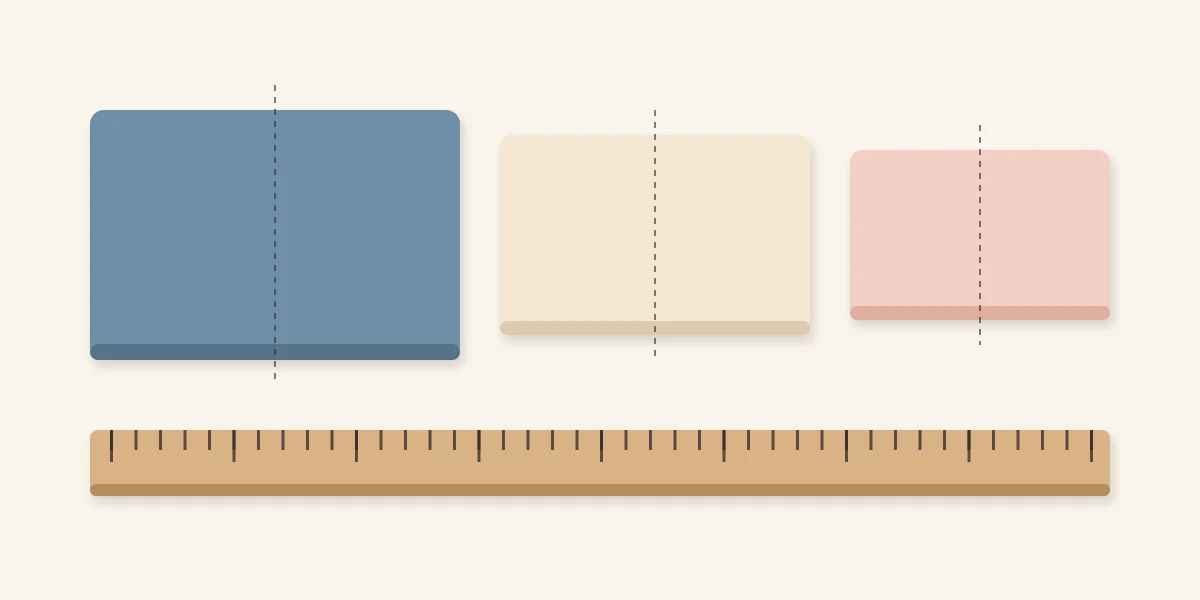
All three pieces are plain rectangles. Each page is slightly smaller than the piece beneath it, so the cover frames the pages and the book closes without felt sticking out at the edges.
| Piece | Cut size | Size when folded |
|---|---|---|
| Cover | 4 x 6 in (10 x 15 cm) | 4 x 3 in (10 x 7.5 cm) |
| Outer page | 3.5 x 5.5 in (9 x 14 cm) | 3.5 x 2.75 in (9 x 7 cm) |
| Inner page | 3 x 5 in (7.5 x 12.5 cm) | 3 x 2.5 in (7.5 x 6.25 cm) |
Mark each rectangle with a ruler rather than cutting by eye; a cover that is out of square shows as soon as the book is folded. Then fold each piece in half, matching the short ends, and mark the fold with a faint chalk line on the inside. You will line up those three centre lines later.
Decorate the Cover First
Any decoration goes on before the pages are attached, while the cover is still a single flat layer and the back of your stitching will be hidden by the pages. Keep it to the right-hand half of the cover as it lies face up, which becomes the front when the book is folded.
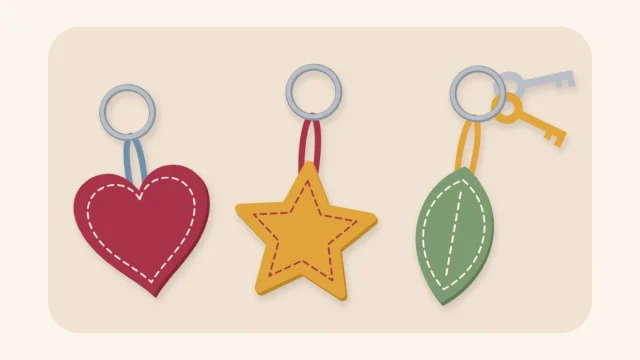
Simple options work best at this size: a small felt heart or leaf held with tiny whipstitches, a felt initial, or a border of running stitch about 1/4 in (6 mm) in from the edge. The same appliqué idea is used on the felt corner bookmark. Leave the middle of the front’s outer edge clear, because that is where the button goes.
Stitch the Spine and Add the Closure
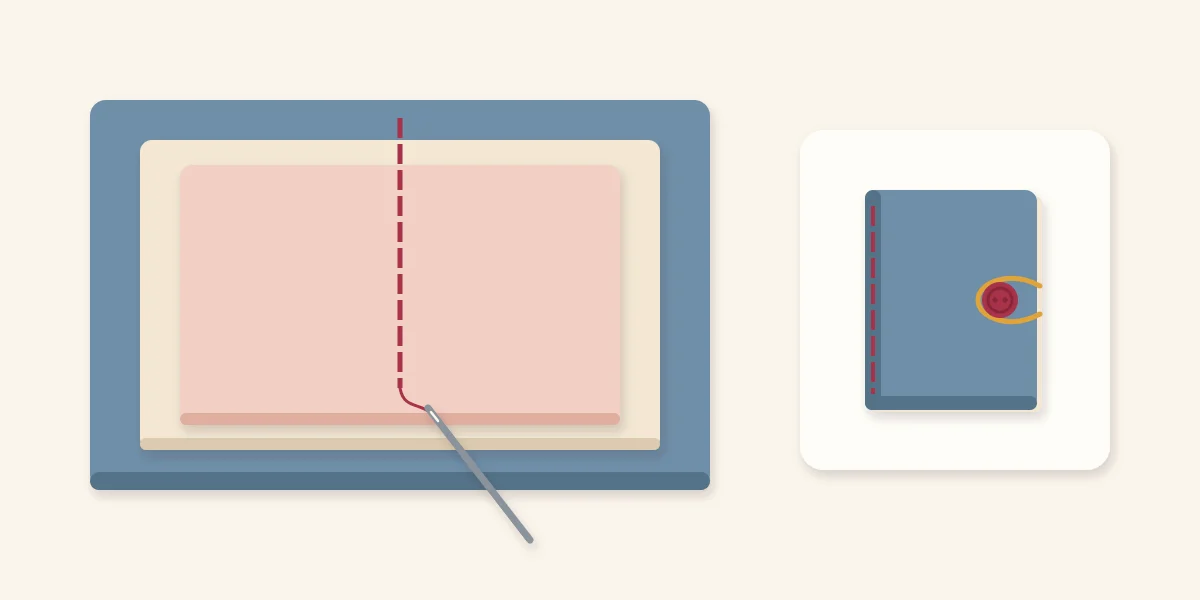
- Lay the cover flat with the decorated side face down. Centre the outer page on it, then the inner page on top, lining up all three chalk lines. Pin or clip the stack at the top and bottom of the line.
- Thread the needle with two or three strands of floss and knot the end. Start between the layers at the top of the inner page’s centre line so the knot is hidden.
- Work backstitch down the centre line through all three layers, with stitches about 1/8 in (3 mm) long, stopping at the bottom edge of the inner page. Backstitch forms a solid line with no gaps, so the pages cannot shift along the spine. If the stitch is new to you, the guide to four hand-sewing stitches shows the thread path.
- Finish with two small stitches on top of each other on the outside of the spine, run the needle between the felt layers, and trim the thread close.
- Fold the book closed. Sew the button to the front cover, centered on its height and about 1/2 in (1.2 cm) in from the open edge, stitching through the cover only and not through the pages.
- Make the loop on the back cover, opposite the button. Stitch a short piece of thin elastic to the inside of the back edge, or work a thread loop: take three or four long stitches of floss in the same two holes, leaving them slack enough to pass over the button, then cover the strands with closely spaced blanket stitches.
Tip
Size the loop with the book closed and with a few needles already in the pages. A loop measured on an empty book is often too tight once the pages are full.
Common Problems
- The pages sit crooked. The stack slid while you stitched. Unpick the spine, re-pin at both ends of the line, and add a third pin in the middle.
- The book springs open. Thick felt resists folding. Press the closed book under a heavy book for a while, or shorten the loop slightly so it holds with more tension.
- The spine puckers. The backstitches were pulled too tight. Felt compresses easily, so draw the thread only until it lies flat on the surface.
Filling It and Giving It
A needle book can be given empty, but it is more useful with a starter set already in place. Slide a few hand-sewing needles of different sizes through one page, weaving each one in and out twice so it cannot slip sideways. Add several round-headed pins to the other page.
Watch out
A filled needle book contains sharp points. Check that no needle tip pokes through the cover, fasten the loop before wrapping, and say on the tag that there are needles and pins inside. Keep it out of reach of young children and pets.
The book is flat and soft, so a small box or a paper envelope with a layer of tissue holds it well. The guide on wrapping a handmade gift and writing a care note covers what to put on the tag.
Frequently asked questions
What kind of felt works best for a needle book?
Use a thicker, stiffer felt for the cover so the book keeps its shape and the points stay covered. Thinner, softer felt suits the pages because needles pass through it easily. Craft felt and wool-blend felt both work; choose by thickness rather than by fiber.
How many pages can a felt needle book have?
Two pages give four surfaces for needles and pins and keep the spine thin enough to fold flat. A third page is possible, but each added layer makes the spine harder to stitch through and the book more likely to spring open. If you add one, lengthen the closure loop to match.
Can the spine be sewn with running stitch instead of backstitch?
Running stitch will hold the layers, but it leaves gaps where the pages can shift and the thread can loosen as the book is opened and closed. Backstitch makes a continuous line and is the firmer choice for a spine. It uses the same needle and thread, so no extra supplies are needed.