Felt Keychain: A Stuffed Shape on a Split Ring
Stitch two matching felt shapes around a ribbon loop, stuff them lightly and hang the result on a split ring for a small hand-sewn keychain.
Tutorial at a glance
Materials
- Craft felt, about 3 x 6 in (7.5 x 15 cm)
- Ribbon about 3/8 in (1 cm) wide and 3 in (7.5 cm) long
- Six-strand embroidery floss
- Embroidery needle
- Polyester fiberfill
- Metal split ring, about 1 in (2.5 cm)
- Paper, pencil and paper scissors
- Sharp fabric scissors and two pins
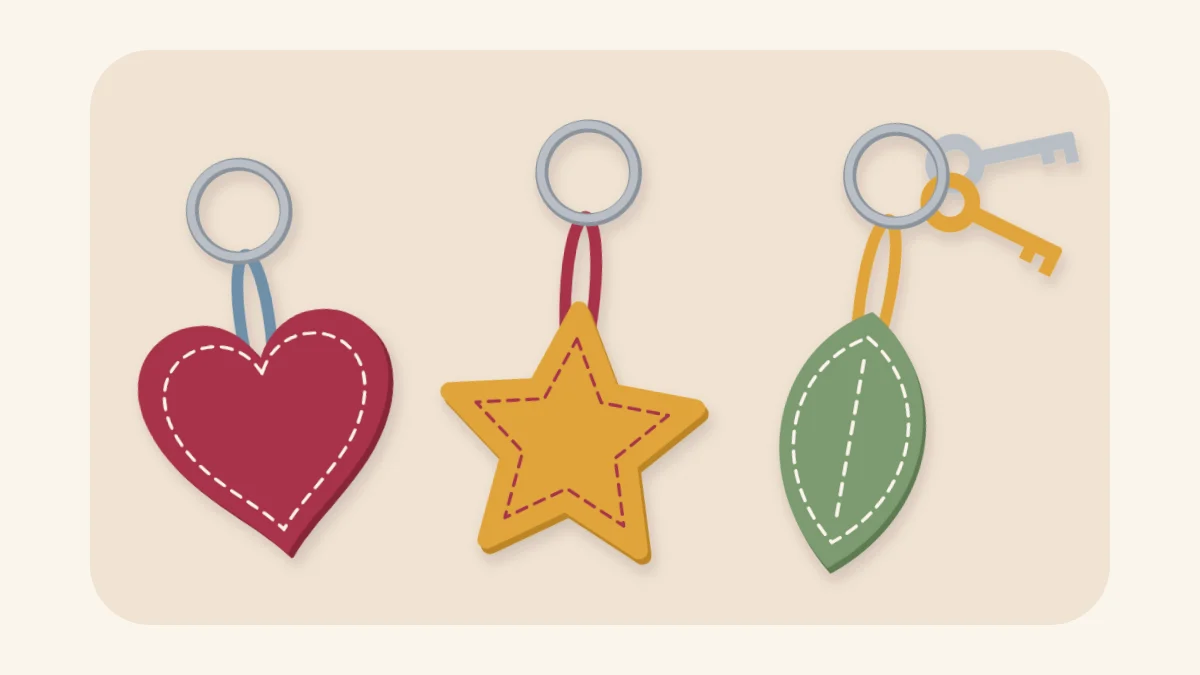
This felt keychain is two matching felt shapes stitched together around the edge, lightly stuffed, and hung from a split ring by a short ribbon loop. At about 2.5 in (6 cm) across it uses very little material, and the whole thing is sewn by hand with one stitch. A heart, a star, a leaf or a circle all work, and the method is the same for each.
The soft shape makes a set of keys easier to find in a bag, and it can also hang from a zipper pull or a backpack.
What You Need
- Craft felt, a piece about 3 x 6 in (7.5 x 15 cm)
- Ribbon about 3/8 in (1 cm) wide, 3 in (7.5 cm) long; grosgrain or cotton twill tape holds up well
- Six-strand embroidery floss in a contrasting color, and an embroidery needle
- A small handful of polyester fiberfill
- A metal split ring, about 1 in (2.5 cm) across
- Paper, a pencil and paper scissors for the template
- Sharp fabric scissors and two pins
Make a Template by Folding Paper
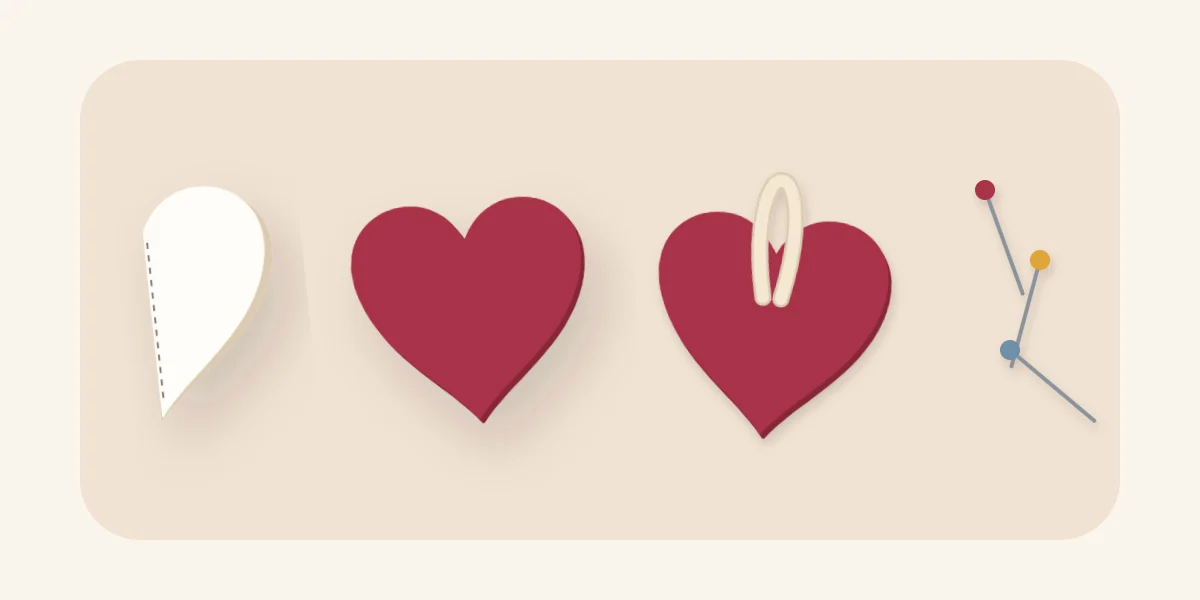
Folding the paper before you cut is what makes a shape symmetrical. For a heart, fold a piece of paper in half, draw half a heart against the fold, about 1.25 in (3 cm) wide and 2.5 in (6 cm) tall, and cut through both layers. Unfolded, the heart is 2.5 in (6 cm) across with two matching sides. A leaf is cut the same way from a pointed half-oval.
| Shape | How to draw it | Sewing notes |
|---|---|---|
| Circle | Trace a jar lid about 2.5 in (6 cm) across | Easiest: no corners or points |
| Heart | Half heart on a folded paper | One inward corner at the top, one point at the bottom |
| Leaf | Half pointed oval on a folded paper | Two points; stuff the tips lightly |
| Star | Five points drawn inside a traced circle | Most corners; keep the points wide and blunt |
Keep the outline simple and rounded. Narrow points are hard to stitch neatly at this size and too thin to stuff.
Cut the Felt and Place the Loop
Pin the template to the felt and cut around it, then repeat for the second piece. Lay one piece on the other and check that they match; trim any overhang now.
Fold the ribbon in half to make a loop. Lay it on one felt piece at the top of the shape, in the dip of a heart, with the two cut ends lying about 1/2 in (1.3 cm) inside the edge and the fold sticking out above. Hold the ends in place with two or three small stitches through the ribbon and that one felt layer. Tacking the loop first stops it from sliding while you sew the edge.
Stitch Around and Stuff
Cut about 24 in (60 cm) of floss and use three of the six strands. Either a whipstitch or a blanket stitch closes the edge; blanket stitch gives a more defined border and whipstitch is quicker to learn. Both are shown in the guide to hand-sewing stitches for gifts.
- Stack and pin. Place the second felt piece on top so the ribbon ends are sandwiched between the layers, and pin through the middle.
- Start on a straight side. Knot the thread and bring the needle out between the layers on one side of the shape, not at a point or at the loop, so the knot is hidden inside.
- Stitch around. Sew through both layers with stitches about 1/8 in (3 mm) deep and 1/8 in (3 mm) apart. When you reach the ribbon, push the needle through the ribbon as well as the felt for every stitch that crosses it. These stitches are what hold the keychain on its ring.
- Stop before the end. Leave a gap of about 1 in (2.5 cm) on the side, with the needle and thread still attached.
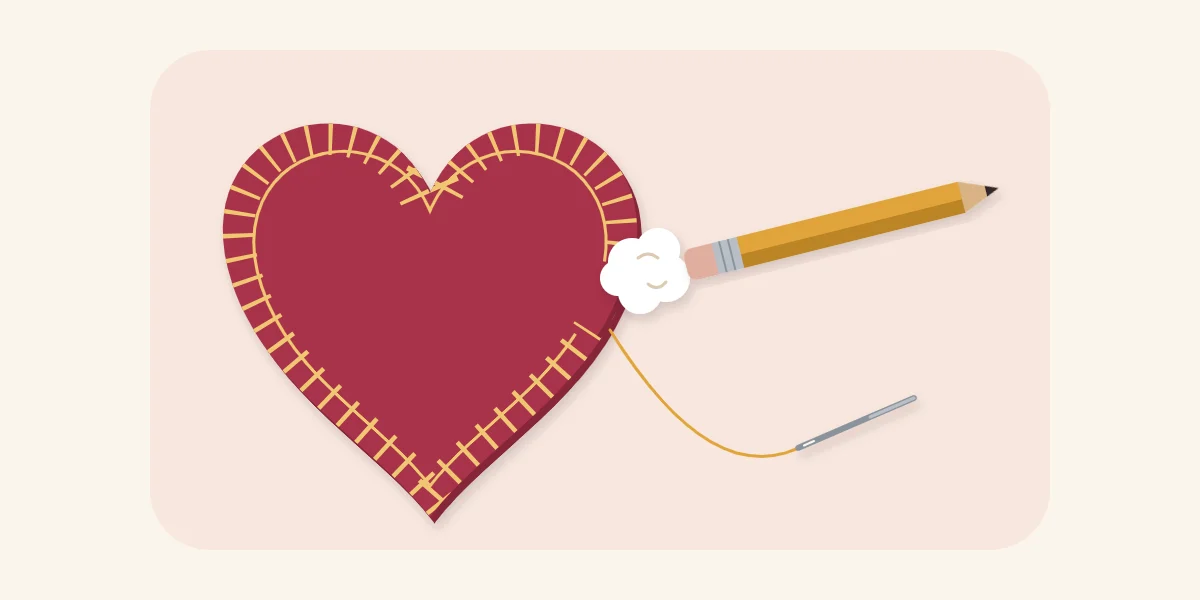
- Stuff lightly. Push in small tufts of fiberfill with the blunt end of a pencil, working it into the far corners first. Stop while the shape is still soft and gently rounded.
- Close. Stitch the gap shut, take two small stitches in one place, run the needle between the layers and out, and trim the thread.
Overstuffing is the usual mistake. A shape packed hard pulls its stitches into the felt, gapes between them and feels bulky in a pocket.
Attach the Split Ring
Pry one end of the split ring open with a thumbnail or the tip of a butter knife, slide the ribbon loop into the gap and turn the ring until the loop has traveled all the way around the coil and hangs free. Tug the loop firmly. If the ribbon shifts inside the felt, add a few more stitches through all the layers at the top.
How It Wears
A keychain is handled every day and rubbed against keys, so it will show wear. Craft felt pills and picks up marks over use, and the result is no sturdier than its stitching. Three things help: choose a thicker or wool-blend felt, keep the stitches close together, and stitch through the ribbon several times. Darker colors show less soiling than pale ones.
Watch out
A felt keychain is not a toy. The split ring, the stuffing and any added buttons or beads are small parts, so keep it away from young children and pets.
If Something Goes Wrong
- The two layers no longer match at the end: the top piece crept while sewing. Pin again and ease the layers together over the last few stitches, or trim both edges level.
- Stuffing shows between stitches: the stitches are too far apart or the shape is too full. Take some filling out and add stitches in the gaps.
- The loop sits crooked: unpick the stitches across the ribbon, straighten it and resew.
Giving It
Hang the keychain on a small card with a slot cut for the ring, or put it in a small box with tissue. A note that it is hand-stitched felt, should be kept dry, and has small parts is worth adding. The same two-layer method, scaled up and hung on a longer loop, makes felt Christmas ornaments, and leaving the top of a heart open instead of stuffing it gives a felt heart pocket that holds a note. For a flat felt project with the same edge stitch, try the felt corner bookmark.
Frequently asked questions
Which stitch should be used around a felt keychain?
Whipstitch and blanket stitch both work. Whipstitch is easier to learn and wraps the edge with slanted stitches. Blanket stitch takes a little more practice and leaves a line of thread along the edge that frames the shape.
How is the ribbon loop kept from pulling out?
Set the cut ends of the ribbon about 1/2 in (1.3 cm) inside the felt and tack them to one layer before sewing. Then pass the needle through the ribbon on every edge stitch that crosses it. Tug the loop once the ring is on and add stitches if it moves.
What can be used for stuffing?
Polyester fiberfill is the usual choice and only a small handful is needed. Small snippets of leftover felt also work for a firmer, flatter result. Use less than seems necessary, since an overfilled shape strains its stitches.