How to Make a Ribbon Bookmark with Button Ends
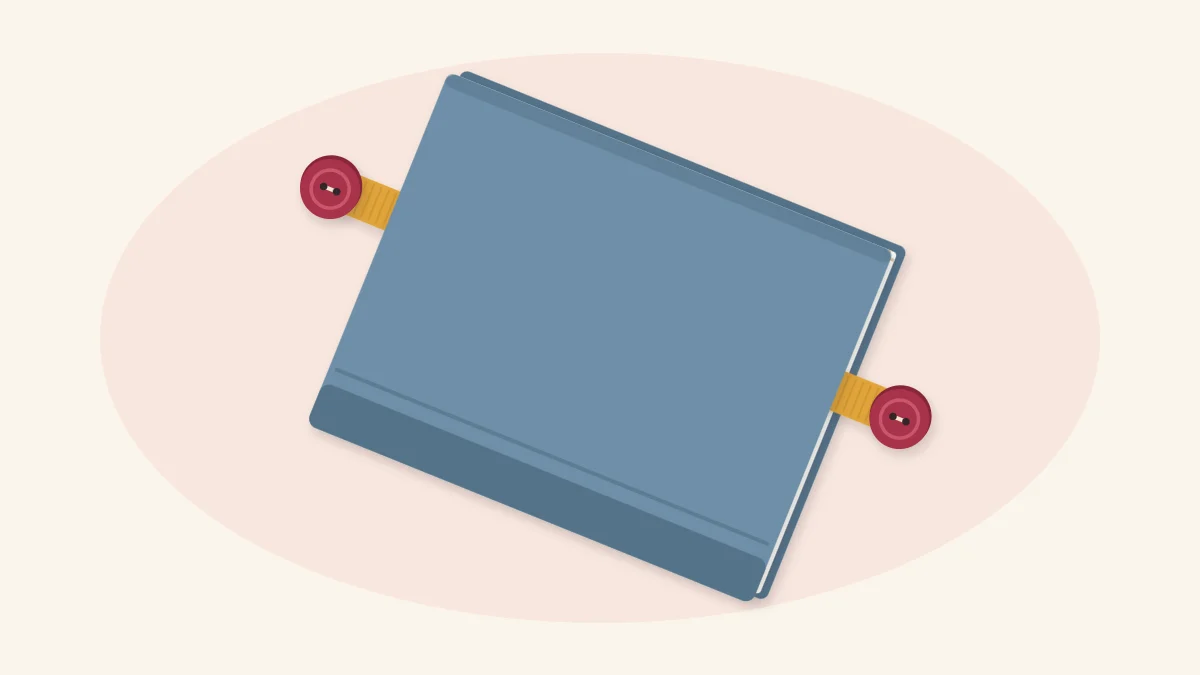
A grosgrain ribbon bookmark cut to fit the book, with folded ends that hide the raw edge and a flat button sewn on each end as a weight.
Tutorial at a glance
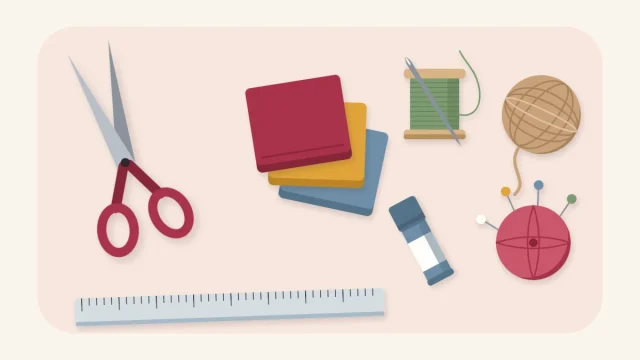
Materials
- Grosgrain ribbon, 5/8 to 7/8 in (15 to 22 mm) wide
- Two flat buttons with two or four holes
- Sewing thread to match the ribbon
- Hand needle
- Ruler and pencil or chalk
- Sharp scissors
- Fabric glue (optional)
- Flat elastic, about 1/4 in (6 mm) wide, for the wrap version
To make a ribbon bookmark you need a length of grosgrain ribbon, two flat buttons, and a needle and thread. The ribbon lies between the pages, and a button at each end adds a little weight so the ends hang neatly outside the book instead of slipping in.
The project has two decisions that affect the result: cutting the ribbon to suit the book, and finishing the ends so they do not fray. Both are covered below, along with an elastic-loop version that wraps around the cover.
What You Need
- Grosgrain ribbon, 5/8 to 7/8 in (15 to 22 mm) wide
- Two flat buttons with two or four holes, about the same width as the ribbon
- Sewing thread to match the ribbon, and a hand needle
- Ruler, pencil or chalk, and sharp scissors
- Fabric glue (optional)
- For the wrap version: flat elastic about 1/4 in (6 mm) wide
Grosgrain is the ribbon with fine crosswise ribs. It is firmer than satin, lies flat between pages and holds a fold, which makes the ends easier to finish. Choose flat buttons rather than shank buttons: a shank makes the button stand away from the ribbon and wobble.
Measuring the Ribbon Against the Book
A bookmark that is too short disappears into the pages, and one that is too long tangles. If you know the book it is meant for, measure that book. If you do not, use the table for a common size.
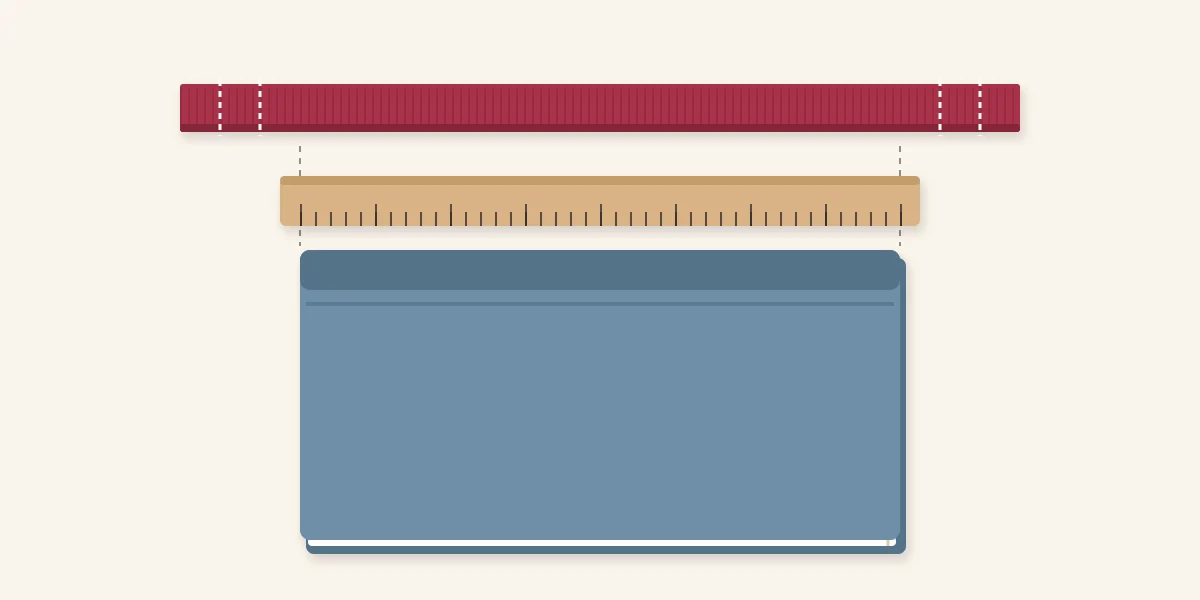
Close the book and hold a ruler along the spine to measure its height. Then add 5 in (12.5 cm). That allowance breaks down as follows: 1 1/2 in (4 cm) of ribbon showing beyond the book at the top, the same at the bottom, and 1 in (2.5 cm) at each end for the folds.
| Book height | Cut ribbon | Finished length |
|---|---|---|
| 7 in (18 cm), small paperback | 12 in (30.5 cm) | 10 in (25.5 cm) |
| 8 in (20.5 cm), larger paperback | 13 in (33 cm) | 11 in (28 cm) |
| 9 1/2 in (24 cm), hardcover | 14 1/2 in (37 cm) | 12 1/2 in (32 cm) |
Lay the cut ribbon beside the closed book to check it: the ribbon should extend past the book at both ends. Mark two fold positions at each end with a pencil dot on the wrong side, one at 1/2 in (1.25 cm) and one at 1 in (2.5 cm) from the cut edge.
Stopping the Ends from Fraying
Ribbon is woven, so a cut end sheds threads. This project deals with that by hiding the cut edge rather than sealing it. Folding the end over twice tucks the raw edge inside the fold, where it cannot work loose once it is stitched.
If you prefer not to sew the fold, a thin line of fabric glue inside each fold holds it. Products vary, so follow the label, test on a scrap of the same ribbon to see whether the glue shows through, and let it set fully before adding the button.
Tip
Cut ribbon with one clean stroke of sharp scissors, straight across the ribs. A ragged cut frays before you have time to fold it.
Finishing the Ribbon Ends
Work one end completely, then repeat on the other. Keep both folds turning toward the same side of the ribbon so the bookmark has a clear front and back.
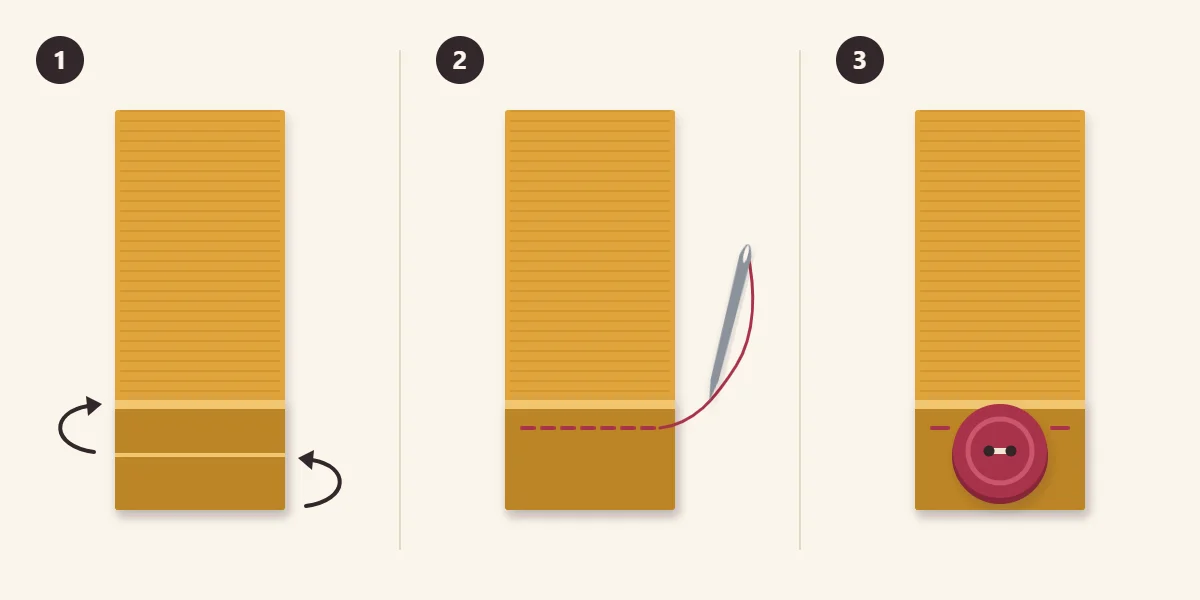
- Fold the end over twice. Fold the first 1/2 in (1.25 cm) to the wrong side at the first mark, then fold again at the second mark. The cut edge is now enclosed. Press the fold firmly with your fingers; grosgrain holds a crease without an iron.
- Stitch the fold. Thread the needle with a single strand of sewing thread, knot the end, and bring the needle up from inside the fold so the knot is hidden. Sew a row of small running stitches across the ribbon through all the layers, close to the inner edge of the fold. Take one extra stitch at each side edge, where the fold is most likely to open.
- Sew a button over the folded end. Without cutting the thread, center the button on the front of the fold and stitch through its holes four or five times, passing through all the ribbon layers. Finish with two tiny stitches on the back and run the needle through the fold before trimming the thread.
If the stitches are new to you, the guide to four hand-sewing stitches shows how to work a running stitch and how to start and end a thread securely.
Elastic-Loop Version
This version forms a closed band that wraps around the book from top to bottom, so it cannot fall out. It has to be made for a particular book.
- Cut the ribbon to twice the book height, less 3 in (7.5 cm). Cut a 3 in (7.5 cm) piece of flat elastic.
- Fold each ribbon end under once by 1/2 in (1.25 cm).
- Tuck one end of the elastic about 1/4 in (6 mm) inside each fold, forming a loop, and stitch across each join several times with backstitch.
- Sew a button over one join to cover the stitching.
The finished loop is slightly shorter than the distance around the book, so the elastic stretches to hold it. Try it on the book before sewing the second join, and shorten or lengthen the ribbon if the fit is loose or strained.
Common Problems
- The fold opens at the edges. The stitches stop short of the sides. Add a stitch that wraps over each side edge.
- The button flops. It is sewn through too few layers or too loosely. Restitch through the whole fold and pull each pass snug.
- The ribbon twists. The two ends were folded toward opposite sides. Unpick one and refold it.
Watch out
Buttons are small parts. A ribbon bookmark is not suitable for young children, and it should be kept away from pets that chew.
Giving It
A ribbon bookmark suits someone who reads paper books, and it pairs naturally with a book or a hand-bound mini notebook. To present it alone, cut two short slits in a piece of cardstock and thread the ribbon through so it lies flat, or tie it to a handmade cardstock gift tag. For a different style of page marker in the same set, a felt corner bookmark uses the same needle and thread.
Frequently asked questions
How long should a ribbon bookmark be?
Measure the height of the book and add about 5 in (12.5 cm). That leaves roughly 1 1/2 in (4 cm) of ribbon showing at the top and bottom and 1 in (2.5 cm) at each end for the double fold.
How do you keep ribbon ends from fraying without heat?
Fold the cut end over twice so the raw edge is enclosed, then stitch across the fold or hold it with a thin line of fabric glue. Follow the glue's label and test it on a scrap of the same ribbon first.
Which buttons work for a ribbon bookmark?
Flat buttons with two or four holes, about as wide as the ribbon, sit neatly on the folded end. Shank buttons stand away from the ribbon and tend to wobble.