No-Sew Fleece Scarf: An Easy Handmade Gift with Fringed Ends
Cut one strip of fleece, square the ends and cut even fringe for a scarf that needs no stitching. Includes adult and child sizes and a knotted-fringe option.
Tutorial at a glance
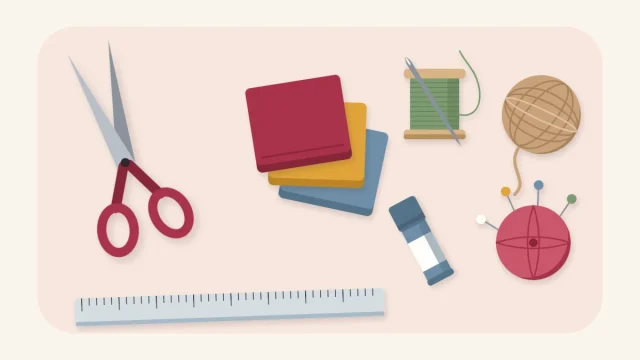
Materials
- Fleece, 10 in (25 cm) cut across the full width of the bolt
- Sharp fabric scissors
- Long ruler or yardstick
- Tailor's chalk or water-soluble fabric marker
- Masking tape (optional)
A no-sew fleece scarf is one strip of fabric with fringe cut into both ends. There is no hemming, no stitching and no pattern to follow, which makes it a sound first project for anyone who can measure and cut a straight line.
The whole result depends on accuracy. The steps below spend most of their attention on squaring and marking for that reason.
Why Fleece Does Not Fray
Woven fabrics such as cotton are made of threads crossing at right angles, and a cut edge lets those threads slide out. Fleece is a knit fabric with a brushed surface. Its fibers are locked together, so a cut edge stays as it is and can be left raw. That is what allows fringe to be cut directly into the scarf.
Fleece stretches more in one direction than the other, so pull a corner gently both ways before cutting and note which way gives.
What You Need
- Fleece, at least 10 in (25 cm) long cut across the full width of the bolt. Most bolts are about 58 to 60 in (147 to 150 cm) wide, which gives the scarf its length without piecing.
- Sharp fabric scissors
- A long ruler or yardstick
- Tailor’s chalk or a water-soluble fabric marker
- Masking tape (optional, as a fringe guide)
Scissors matter more than anything else on the list. If yours struggle with thick fabric, the guide to basic supplies for paper and fabric projects explains what to look for in a fabric pair.
Size Guide
| Size | Cut strip | Fringe depth | Fringe width | Strips per end |
|---|---|---|---|---|
| Adult | 10 x 60 in (25 x 150 cm) | 4 in (10 cm) | 1/2 in (1.25 cm) | 20 |
| Child | 6 x 42 in (15 x 105 cm) | 3 in (7.5 cm) | 1/2 in (1.25 cm) | 12 |
These are suggestions. A wider strip gives a bulkier scarf, and a bolt narrower than 60 in simply gives a slightly shorter one.
Cut and Square the Strip
- Remove the selvages. The two finished edges of the bolt are often tighter, printed or slightly curled. Trim them off in a straight line so both short ends of the scarf are clean.
- Straighten one long edge. Lay the fleece flat on a table without stretching it. Rule a chalk line along one long side and cut on it. Shop-cut edges are rarely straight enough to use as they are.
- Mark the width. Measure 10 in (25 cm) from the straightened edge at several points along the length, join the marks with the ruler, and cut. Measuring in only two places lets the line drift.
- Square the ends. Fold the strip in half lengthwise so the long edges meet, then check that each short end forms a right angle with the fold. Trim any slant. Fringe cut from a slanted end will be longer on one side.
Tip
Use long, full strokes of the scissors and close the blades almost to the tip each time. Short snips leave a stepped edge on thick fleece.
Measuring and Cutting the Fringe
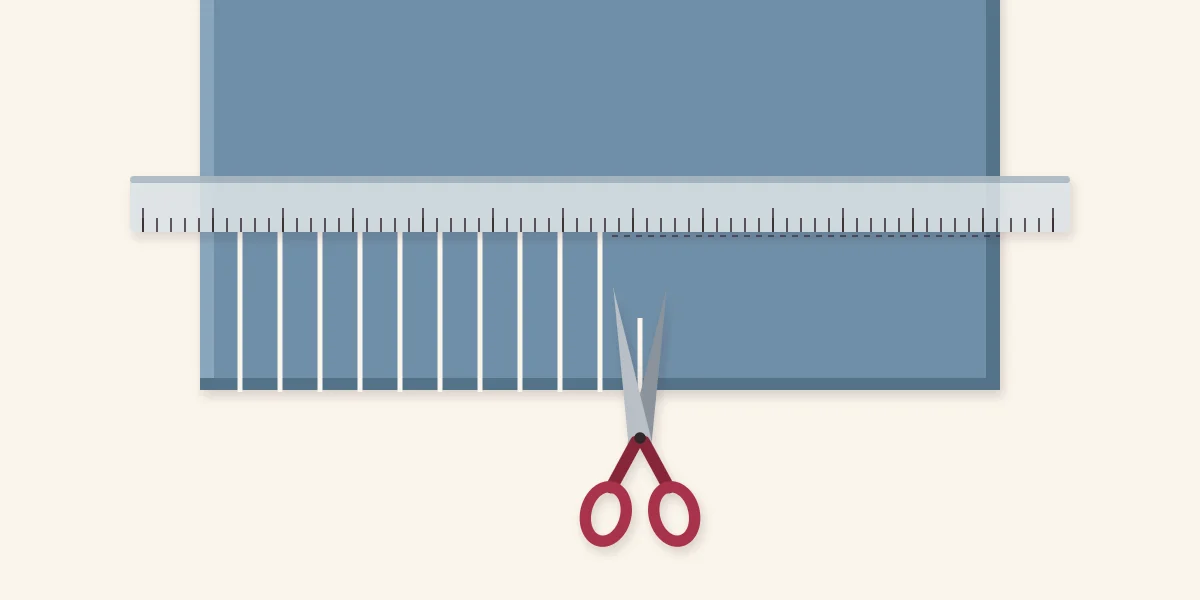
- Mark the fringe depth. At one end, lay the ruler across the strip 4 in (10 cm) from the edge and draw a chalk line. A strip of masking tape placed just above the line works as a physical stop for the scissors.
- Mark the fringe width. Along the cut end, make a small chalk tick every 1/2 in (1.25 cm). On a 10 in strip that gives 20 strips of fringe.
- Cut. Starting at one side, cut from each tick straight up to the depth line, keeping the cuts parallel to the long edges. Stop exactly at the line each time. Cuts that run past it weaken the base of the fringe.
- Repeat at the other end, then brush off the chalk and remove the tape.
Cutting through a single layer gives the most even result. Folding the end in half to cut two layers at once is faster, but the layers shift and the strips come out unequal.
Plain or Knotted Fringe
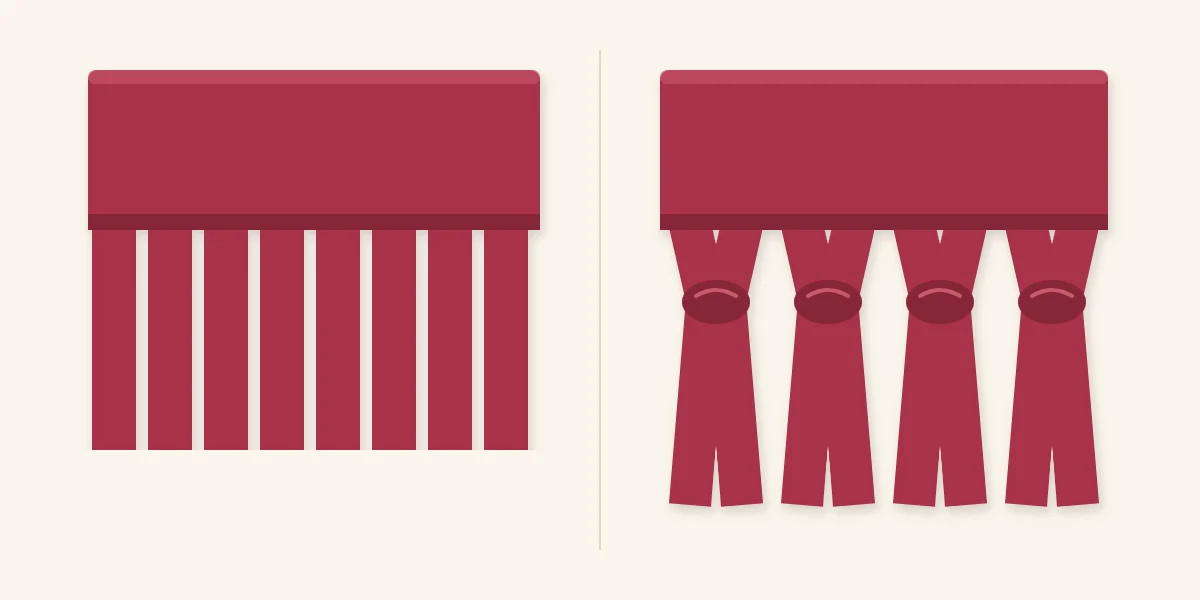
Plain fringe is finished as soon as it is cut. The strips hang straight and the scarf lies flat when folded.
Knotted fringe adds texture and a little weight at the ends. Take two neighbouring strips, hold them together as one, and tie a single overhand knot, sliding it up to the base of the fringe before tightening. Work across the end in pairs. Twenty strips make ten knots. Pull each knot with the same tension, because a row of tight and loose knots puckers the end of the scarf unevenly. Knotting shortens the visible fringe, so cut it 5 in (12.5 cm) deep if you want knotted fringe to hang as long as plain.
Variations
- Two-layer scarf with a knotted edge. Cut two identical strips in different colors and stack them with edges matched. Cut the fringe through both layers at once, holding them with clips, then tie each top strip to the strip directly beneath it with a double knot. The knots join the layers at both ends, and the result is thicker.
- Child size. Use the smaller measurements in the table. Keep the fringe short, and supervise young children with any scarf.
If Something Goes Wrong
- Wavy long edges. The fleece was stretched while cutting. Lay it flat, let it relax, rule a new line slightly inside the old one and recut.
- Uneven fringe width. Trim the widest strips to match, or cut every strip in half lengthwise for finer fringe.
- A cut that ran too deep. Deepen the rest of the fringe to match it, moving the depth line on both ends.
Giving It
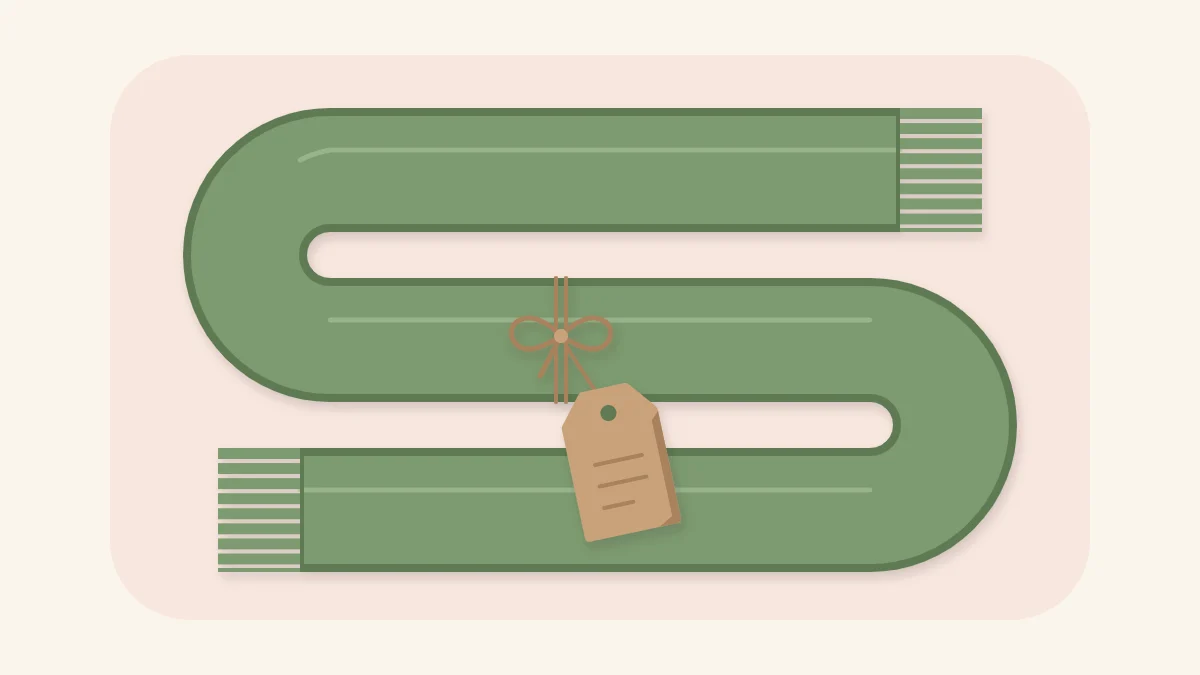
Fold the scarf in thirds lengthwise, then roll or fold it and tie it with twine. Add a tag that names the fiber and copies the care instructions from the bolt label, since washing and drying advice differs between fleeces. Fleece is usually synthetic and can be damaged by a hot iron, which is worth noting on the tag too. A scarf suits cold-weather occasions, so it sits naturally in a plan for handmade gifts by season.
For presentation, a soft item like this can be bundled in fabric or slipped into a paper gift bag made from wrapping paper. The guide on wrapping a handmade gift and writing a care note covers what to put on the tag.
Frequently asked questions
Does fleece need to be hemmed?
No. Fleece is a knit fabric whose fibers are locked together, so cut edges do not unravel the way woven cotton does. The edges and fringe of the scarf can be left raw.
How wide should the fringe on a fleece scarf be?
About 1/2 in (1.25 cm) wide and 4 in (10 cm) deep is a practical size for an adult scarf. Narrower strips look finer but are harder to cut evenly, and very wide strips look blocky. Mark each cut with chalk before cutting.
How should a fleece scarf be washed?
Care depends on the particular fleece, so follow the instructions printed on the bolt label or supplied by the shop. Copy those instructions onto the gift tag so the recipient has them.